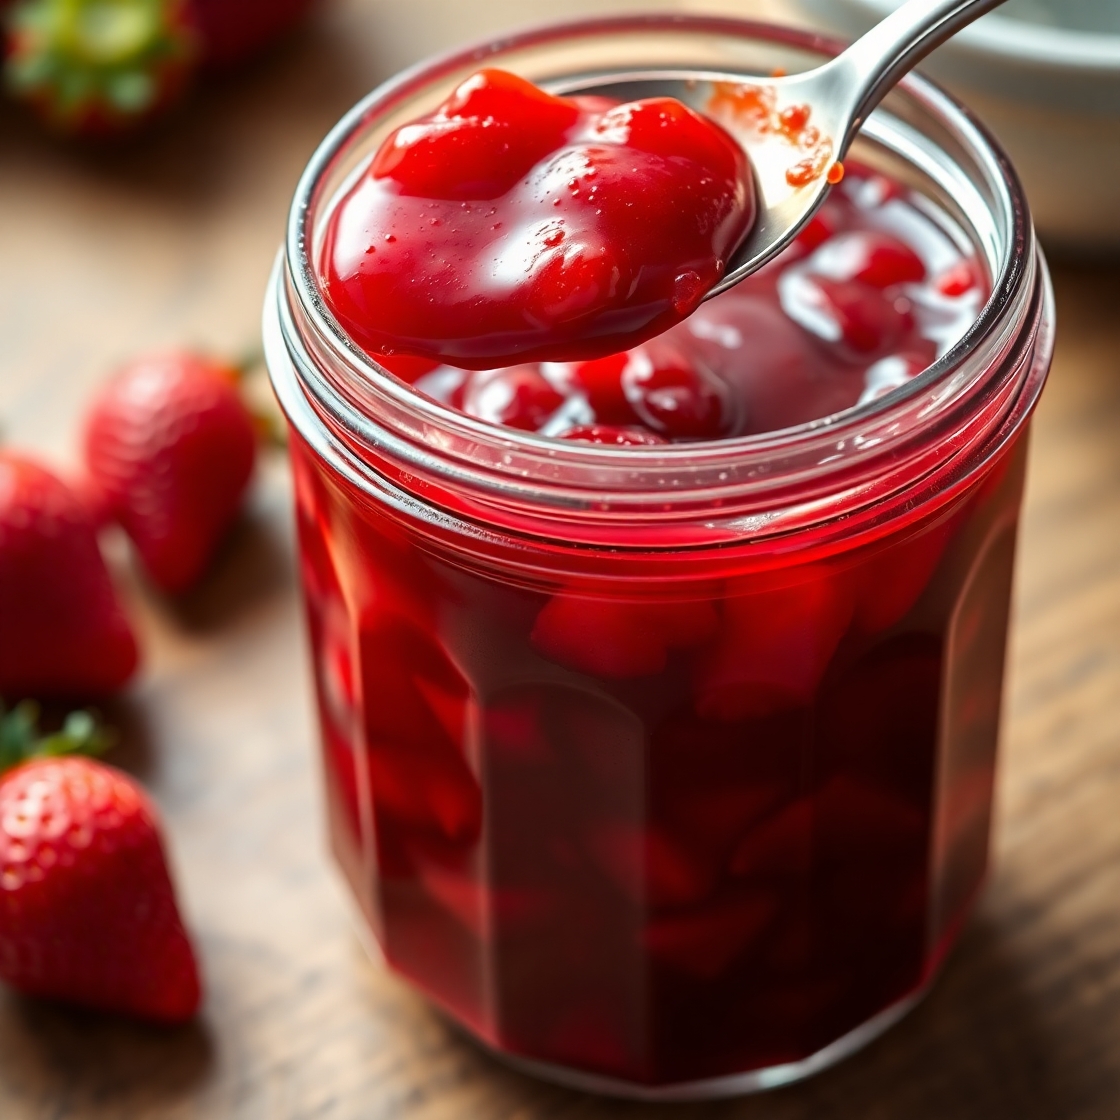
There’s something deeply satisfying about making your own strawberry jam, especially when you can preserve the vibrant flavors of fresh summer berries to enjoy all year long. This recipe for strawberry jam canning was born out of my desire to capture the sweet, fragrant taste of ripe strawberries in a jar that lasts. Homemade jam isn’t just about flavor; it’s about tradition, memories, and the simple joy of creating something from scratch. Whether you’re an experienced home canner or a beginner eager to try your hand at preserving fruit, this recipe will guide you through the process with clarity and confidence. Keep reading, and soon you’ll have jars of luscious strawberry jam ready to brighten breakfasts, desserts, or even savory dishes.
Why I Love This Recipe?
Strawberry jam is a classic that transcends generations. What makes this recipe special is its balance between simplicity and the perfect texture. It’s not overly sweet, allowing the natural tartness of strawberries to shine through, and it sets beautifully without being too stiff or runny. The method I use for canning ensures your jam stays fresh and safe to enjoy for months, preserving that fresh-picked taste. I love that this recipe doesn’t require any complicated ingredients or techniques but delivers professional-level results.
Making strawberry jam at home also means you control the ingredients. No preservatives or artificial flavors—just fresh fruit, sugar, and a bit of lemon juice. Plus, the process itself is rewarding. From watching the strawberries transform as they cook down, to the satisfying pop of sterilized jars sealing tight, it’s an experience that connects you to the food in a way store-bought jam never can.
Ingredients for Strawberry Jam Recipe Canning
To make this strawberry jam, you’ll need just a few straightforward ingredients, but each one plays a vital role in the outcome:
- Fresh strawberries: The star of the show. Choose ripe, fragrant berries free of bruises or mold. You’ll need about 4 cups of crushed strawberries to yield enough jam for several jars.
- Granulated sugar: Sugar acts as a sweetener and natural preservative. It helps the jam set and balances the fruit’s acidity. This recipe uses about 3 to 4 cups depending on your taste preference.
- Lemon juice: Fresh lemon juice adds brightness and acidity which aids in setting the jam and enhances flavor. It also helps preserve the color and freshness.
- Pectin: This natural gelling agent extracted from fruit helps the jam thicken. I recommend using a reliable commercial pectin like Sure-Jell to ensure consistent results, especially if your strawberries are low in natural pectin.
- Water: A small amount to help dissolve the pectin.
Every ingredient is easy to find and common in most kitchens. The freshness of your strawberries is what truly elevates this jam, so always pick the best you can get.
How Much Time Will You Need?
Making and canning strawberry jam is a labor of love but is surprisingly efficient. Here’s the rough timeline:
- Preparation (washing, hulling, crushing strawberries): 15 to 20 minutes
- Cooking and stirring the jam: 20 to 30 minutes
- Sterilizing jars and lids: 15 minutes (can be done simultaneously with cooking)
- Canning process (filling jars, sealing, and boiling water bath): 15 to 20 minutes
All told, expect to spend around 1 to 1.5 hours from start to finish. This is a manageable and rewarding kitchen project that fits nicely into an afternoon.
How to Make This Strawberry Jam Recipe Canning
Step-by-step instructions will walk you through the entire process, so you feel confident every step of the way.
Step – 1: Prepare Your Strawberries
Start by washing your strawberries thoroughly under cold running water. Remove the green caps and hull them. Then, crush the berries using a potato masher or fork until you get your desired texture — some like chunky bits, others prefer smoother jam. Measure out 4 cups of crushed strawberries.
Step – 2: Sterilize Your Jars and Lids
While prepping the fruit, sterilize your canning jars and lids by placing them in a large pot of boiling water for 10 to 15 minutes. Keep them warm until ready to use to prevent jars from cracking when filled with hot jam.
Step – 3: Mix Pectin and Water
In a small bowl, mix 1 packet of pectin with ¼ cup of cold water, stirring until smooth and no lumps remain.
Step – 4: Cook the Jam
Place the crushed strawberries and sugar into a large, heavy-bottomed pot. Stir well to combine. Over medium heat, bring the mixture to a rolling boil, stirring constantly to prevent burning.
Step – 5: Add Pectin Mixture and Lemon Juice
Once boiling, add the dissolved pectin and 2 tablespoons of fresh lemon juice. Stir vigorously and continue boiling hard for 1 to 2 minutes. You’ll notice the mixture thickening.
Step – 6: Test the Jam’s Consistency
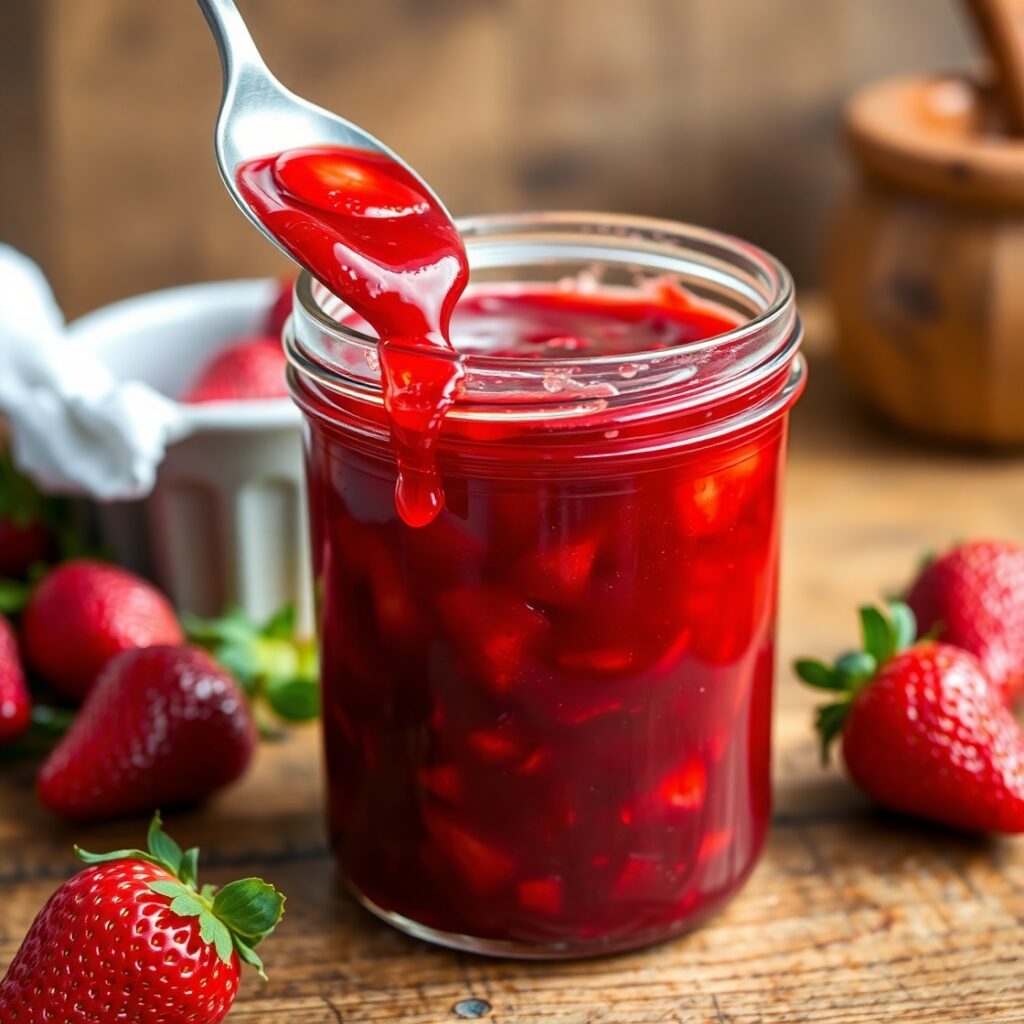
To check if your jam is ready, place a small spoonful on a cold plate and let it sit for a minute. Run your finger through it—if it wrinkles and holds shape, it’s done. If it’s too runny, boil for another minute and test again.
Step – 7: Fill Jars and Seal
Carefully ladle the hot jam into your sterilized jars, leaving about ¼ inch headspace at the top. Wipe the rims clean to ensure a good seal. Place the lids on and screw the bands on just until fingertip tight.
Step – 8: Process in a Boiling Water Bath
Place the filled jars into a boiling water bath, making sure they are covered by at least an inch of water. Process for 10 minutes to seal and preserve.
Step – 9: Cool and Store
Remove jars from the water bath and place them on a towel to cool undisturbed. You should hear the satisfying pop of lids sealing as they cool. After 24 hours, check seals by pressing the lid center—if it doesn’t flex up and down, it’s sealed properly.
Substitutions
If you want to tweak the recipe or accommodate what you have on hand, here are some substitutions that work well:
- Pectin alternatives: If you prefer not to use commercial pectin, you can cook the jam longer to naturally thicken it, though it will take more time. Another option is using natural pectin-rich fruits like green apples or crabapples mixed into the batch.
- Sweeteners: Instead of granulated sugar, you can use honey or maple syrup for a more natural sweetness, but this may alter the setting process slightly and change the flavor profile. If using less sugar, expect a softer set.
- Lemon juice: Bottled lemon juice can be used if fresh isn’t available, but fresh is always preferable for flavor and acidity.
- Strawberries: If fresh strawberries are out of season, frozen strawberries can work but drain excess liquid first to avoid watery jam.
Best Side Dishes of Strawberry Jam Recipe Canning
While strawberry jam is often enjoyed on its own, pairing it with complementary foods enhances the experience. Here are three ideal side dishes:
- Buttery Toast or Freshly Baked Scones: The rich, flaky texture of scones or warm toast is elevated by spreading strawberry jam generously.
- Cream Cheese or Mascarpone: Creamy cheeses offer a smooth, tangy counterpoint to the sweetness of the jam, perfect for breakfast or dessert.
- Yogurt or Oatmeal: Stirring in a spoonful of homemade strawberry jam adds natural sweetness and fruity flavor to plain yogurt or morning oats.
Serving and Presentation Tips
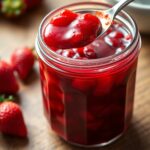
Serving homemade strawberry jam is a celebration of color and flavor, and how you present it can elevate even the simplest meal. For a rustic look, serve your jam in a clear glass jar, allowing the vibrant red hue to shine. Use small, decorative spoons or spreaders to add a touch of elegance. When serving at a brunch or tea party, place the jam alongside fresh bread, scones, or croissants on a wooden board with a few sprigs of fresh mint or edible flowers for a pop of color.
If you’re adding the jam to desserts, swirl it into vanilla ice cream or dollop it over cheesecake for a beautiful contrast. For breakfast, offer small bowls of jam beside yogurt or oatmeal so guests can customize their bowls. Remember, the simple beauty of homemade jam is best highlighted by natural, minimal presentation—let the jam’s luscious texture and rich color do the talking.
Tips and Tricks to Make This Recipe Even Better
Making strawberry jam might seem straightforward, but a few insider tips can turn your batch from good to spectacular.
- Use ripe, but firm strawberries: Overripe berries can cause jam to become too watery, while underripe berries lack sweetness. Aim for fresh, fragrant, ripe strawberries with firm flesh.
- Keep stirring during cooking: Jam can easily scorch on the bottom of the pot. Stir constantly once it reaches a boil to prevent burning and uneven cooking.
- Test your set properly: The cold plate test is your best friend. Don’t rush the cooking time—allow the jam to reach the correct consistency to avoid a runny final product.
- Avoid overfilling jars: Leave the proper headspace to ensure safe sealing during the water bath process.
- Adjust sweetness after cooking: If you want less sweet jam, you can reduce sugar slightly, but do so with caution as it affects the jam’s preservation and set. Taste before you cook, and adjust accordingly.
- Label your jars: Write the date and contents on the lid or jar for easy tracking and to keep your pantry organized.
Common Mistakes to Avoid
Even the best cooks can run into pitfalls when canning strawberry jam. Here are mistakes to watch out for:
- Not sterilizing jars properly: This can lead to spoilage or contamination. Always sterilize jars and lids thoroughly.
- Skipping the boiling water bath: This crucial step seals jars and prevents bacteria growth. Never skip or shorten this process.
- Using unripe or bruised fruit: This affects both flavor and texture. Always use the freshest, best-quality strawberries.
- Incorrect jar headspace: Filling jars too full or too low can cause jars to crack or seals to fail.
- Not testing for set: Rushing can result in runny jam that won’t preserve well.
- Overcooking the jam: This can cause bitterness or a burnt flavor. Stick to the recommended cooking times and test regularly.
How to Store It
Proper storage is essential to maintain the freshness and safety of your homemade strawberry jam.
- Before opening: Store sealed jars in a cool, dark place such as a pantry or cupboard, away from direct sunlight and heat. Properly canned jam can last up to one year.
- After opening: Once opened, refrigerate the jar and consume within 3 to 4 weeks for best flavor and safety.
- Freezing: If you prefer, you can freeze jam in freezer-safe containers for up to 6 months, though texture may slightly change upon thawing.
- Check seals before use: Always inspect your jars for broken seals, off smells, or mold before consuming.
FAQ
Q1: Can I make strawberry jam without pectin?
Yes, you can cook strawberries longer to reduce liquid and naturally thicken the jam. It will take more time and may yield a softer set.
Q2: Can I use frozen strawberries for jam?
Frozen strawberries work, but be sure to thaw and drain excess liquid to avoid watery jam.
Q3: How much jam does this recipe make?
This recipe typically yields about 4 to 5 half-pint jars.
Q4: What can I do if my jam doesn’t set?
Re-boil the jam with additional pectin or cook it longer. Alternatively, use it as a sauce or syrup.
Q5: How do I know if my jars are sealed properly?
Press the center of the lid after cooling. If it doesn’t pop up and down, it’s sealed. If the lid flexes, refrigerate and use quickly.
Strawberry Jam Recipe Canning Recipe
- Total Time: 1 hour 15 minutes
- Yield: 4-5 half-pint jars
- Diet: Vegetarian
Description
Capture the sweet essence of fresh strawberries all year long with this simple yet delicious homemade strawberry jam recipe. This canning method locks in vibrant flavor and natural freshness with minimal ingredients and fuss. Perfect for breakfast spreads, desserts, or gifting, it offers the perfect balance of sweetness and natural fruit tartness. Whether you’re new to canning or an experienced preservist, this guide leads you through every step for flawless results.
Ingredients
- 4 cups fresh crushed strawberries
- 3 to 4 cups granulated sugar (adjust to taste)
- 1 packet (about 1.75 oz) commercial pectin
- 2 tablespoons fresh lemon juice
- ¼ cup cold water
Instructions
- Wash, hull, and crush strawberries; measure 4 cups.
- Sterilize jars and lids by boiling for 10-15 minutes; keep warm.
- Mix pectin with cold water until smooth.
- In a large pot, combine strawberries and sugar; bring to rolling boil, stirring constantly.
- Add pectin mixture and lemon juice; boil hard for 1-2 minutes.
- Test set on cold plate; if not set, boil and test again.
- Ladle hot jam into jars, leaving ¼ inch headspace.
- Wipe rims, apply lids and bands fingertip tight.
- Process jars in boiling water bath for 10 minutes.
- Remove, cool on towel, and check seals after 24 hours.
Notes
Use ripe, firm strawberries for best flavor and set.
Adjust sugar according to taste but note it affects preservation.
Keep stirring during cooking to prevent scorching.
Label jars with date and contents.
Refrigerate after opening; consume within 3-4 weeks.
- Prep Time: 20 minutes
- Cook Time: 30 minutes
- Category: Preserves, Condiments
- Method: Stove-top, Water bath canning
- Cuisine: American
Nutrition
- Serving Size: 1 tablespoon
- Calories: 50