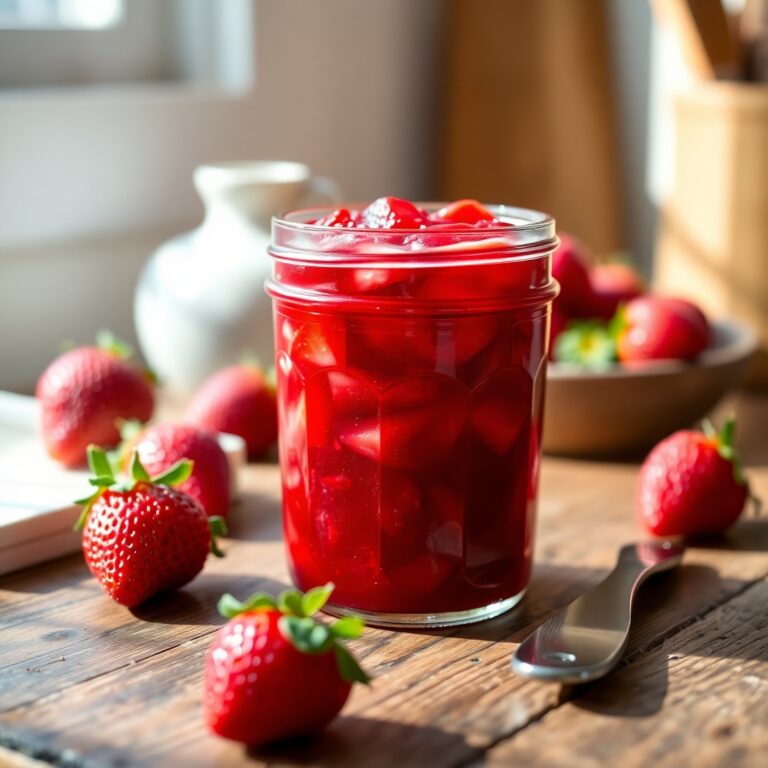

There’s something wonderfully nostalgic about a spoonful of homemade strawberry jam.
The flavor is bright, the color is vibrant, and it instantly brings you back to simpler times—maybe to a childhood breakfast table, a warm piece of toast, or a summer afternoon with the scent of strawberries in the air.
I created this strawberry jam recipe to capture that very feeling in a jar. It’s not just about preserving fruit—it’s about bottling the season.
Whether you’ve got a haul from a strawberry-picking trip or a basket of berries on the verge of over-ripening, this is the perfect way to celebrate strawberries at their peak.
And the best part? You don’t need any special equipment or pectin to make it.
Once you try this, store-bought jam will never taste the same.
Keep reading—you’re about to master a simple, classic jam that you’ll find every excuse to spoon onto everything.
Why I Love This Recipe
What sets this strawberry jam apart isn’t just its deep, rich flavor—it’s the process and satisfaction that comes with making it.
There’s a wholesome simplicity in transforming fresh strawberries, sugar, and lemon juice into something that lasts far beyond strawberry season.
This recipe is all about showcasing the natural fruit, with no unnecessary preservatives or additives.
The consistency is luxurious—thick enough to stay on a spoon, yet silky enough to glide across warm toast.
It’s also versatile.
This jam is as delightful on breakfast dishes as it is in desserts or savory applications like glazes for meats or swirls in yogurt.
Another reason to love it?
It’s completely beginner-friendly.
You don’t need to be a seasoned canner or own a fancy preserving kit.
With just a heavy-bottomed pot, a bit of patience, and this recipe, anyone can create a stunning strawberry jam that tastes better than anything you’ll find in a jar from the store shelf.
Plus, there’s something truly special about giving someone a jar of homemade jam—it’s the edible equivalent of a handwritten note.
Ingredients for Strawberry Jam
To make this strawberry jam, you only need three essential ingredients.
Each one plays a crucial role in flavor, texture, and preservation:
Fresh strawberries:
Use ripe, in-season strawberries for the best flavor. Overripe berries are fine too—they’re often even sweeter and perfect for jam-making.
Avoid underripe ones, as they lack depth and natural sweetness.
You’ll need about 2 pounds (900g) of hulled strawberries for this recipe.
Granulated sugar:
The sugar doesn’t just sweeten the jam—it also helps it set and acts as a preservative. We’ll use 3 ½ cups (700g) of white granulated sugar.
You can reduce it slightly if your berries are ultra-sweet, but don’t go too low or your jam might not set properly.
Fresh lemon juice:
Just 2 tablespoons of lemon juice add the acid needed to balance the sweetness and help the jam gel.
It also enhances the vibrant red color of the strawberries and adds brightness to the flavor.
Optional: A pinch of salt (about ⅛ teaspoon) can subtly deepen the flavor.
That’s it—no pectin, no additives, just honest ingredients that turn magical together on the stove.
How Much Time Will You Need?
This strawberry jam recipe is straightforward and doesn’t require a full afternoon in the kitchen.
Here’s a time breakdown:
- Preparation time: 20 minutes (includes washing, hulling, and slicing strawberries)
- Cooking time: 35 to 45 minutes (depending on water content in berries)
- Cooling and resting time: 2 to 3 hours at room temperature before transferring to the fridge
So in total, set aside about 1 hour active time, and then allow it to cool completely before storing.
You can easily double the batch, but be sure to increase your cooking time slightly.
How to Make This Strawberry Jam
Follow this detailed, step-by-step guide to ensure you get a jam that’s thick, flavorful, and never grainy or too runny.
Step 1: Prep the strawberries
Wash the strawberries gently under cold running water.
Remove the green tops (hull them), and cut them into quarters.
If the berries are very large, chop them smaller to ensure even cooking.
Place all the cut strawberries into a large, heavy-bottomed pot or Dutch oven.
Step 2: Macerate with sugar and lemon
Add the sugar and lemon juice to the pot.
Using a wooden spoon, stir until the strawberries are coated and the sugar starts to dissolve.
Let this mixture sit for 15–30 minutes.
This resting time helps the berries release their juices, allowing them to cook more evenly and preventing scorching later.
Step 3: Begin cooking over medium heat
Place the pot over medium heat and stir occasionally as the mixture begins to bubble.
As the sugar melts, it will look syrupy.
Skim off any white foam that rises to the surface with a spoon—this keeps the jam clear and glossy.
Step 4: Break down the fruit
After 10–15 minutes of simmering, use a potato masher or the back of a spoon to crush the strawberries gently.
If you prefer a chunkier jam, mash only a little. For smoother jam, mash more thoroughly.
Continue simmering, stirring frequently to prevent sticking or burning.
Step 5: Watch for the gelling point
After about 30–40 minutes of cooking, the jam should thicken noticeably.
Test it by spooning a little onto a cold plate (you can chill one in the freezer).
Wait a few seconds, then drag your finger through it—if it leaves a clear trail, your jam is ready.
If not, simmer another 5–10 minutes and test again.
Step 6: Cool and jar
Once thickened, remove the pot from the heat.
Let the jam sit for about 10 minutes—this helps distribute the fruit evenly in the jar, so it doesn’t float to the top.
Ladle into sterilized jars, seal tightly, and let cool at room temperature for a few hours.
Once cooled, store in the fridge or process in a water bath for longer shelf life (if canning).
Substitutions
This jam recipe is flexible, but a few substitutions can make it fit your preferences or pantry.
Sugar substitutes:
You can swap granulated sugar with cane sugar, raw sugar, or even coconut sugar.
Be aware, though, that sugar alternatives like stevia or erythritol won’t help the jam set, and will change the flavor and texture significantly.
Lemon juice alternatives:
Fresh lemon juice is best, but bottled lemon juice works in a pinch.
If you want a slightly different citrus note, try lime juice or even orange juice (though the set may be looser).
Flavor add-ins:
For a twist, add a vanilla bean pod, a splash of balsamic vinegar, or a few sprigs of fresh basil during cooking.
Remove them before jarring.
These additions elevate the flavor and make the jam more gourmet.
Best Side Dish of Strawberry Jam
Strawberry jam is more than just a spread—it’s a star in its own right.
Here are three side dish ideas to elevate your mealtime with it:
1. Buttermilk Biscuits
Flaky, buttery biscuits are a match made in heaven with strawberry jam. Slather a warm one and enjoy the sweet-salty balance.
2. Greek Yogurt Parfaits
Layer jam with creamy Greek yogurt and granola for a breakfast that’s both indulgent and balanced.
3. Cheese Boards
Strawberry jam works beautifully with aged cheddar, brie, or goat cheese. Add some crackers and you’ve got a stunning appetizer.
Serving and Presentation Tips
Serving homemade strawberry jam isn’t just about taste—it’s about presentation too. A beautifully served jar of jam can elevate even the simplest meal or brunch spread.
Here are a few tips to help you showcase your strawberry jam:
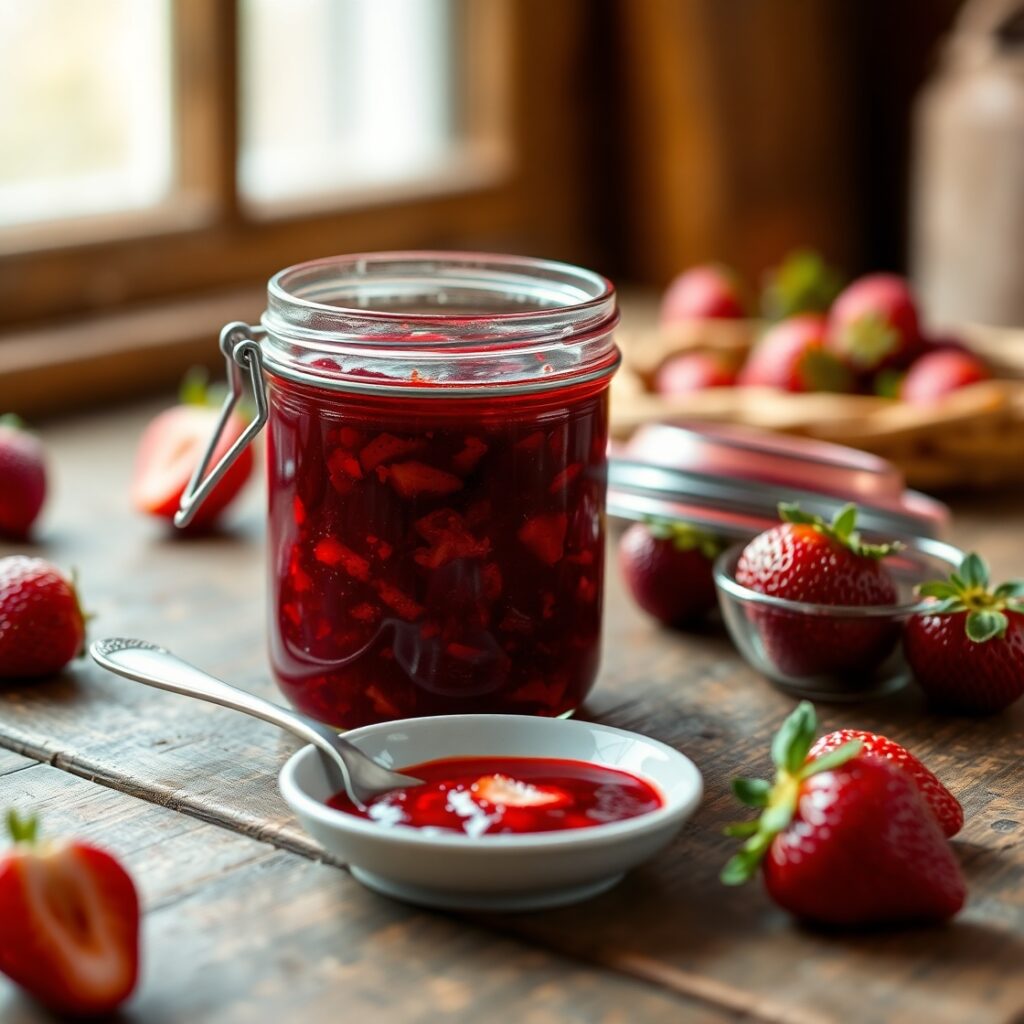
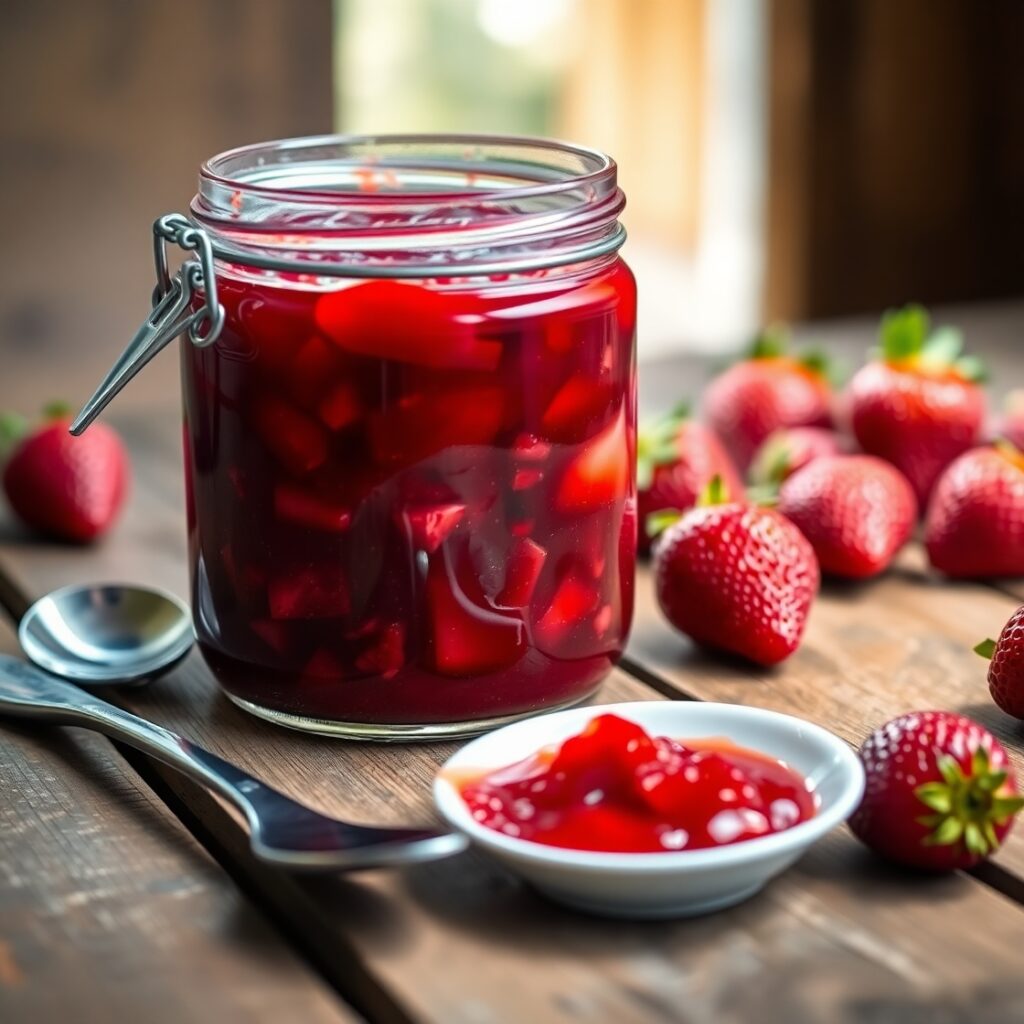
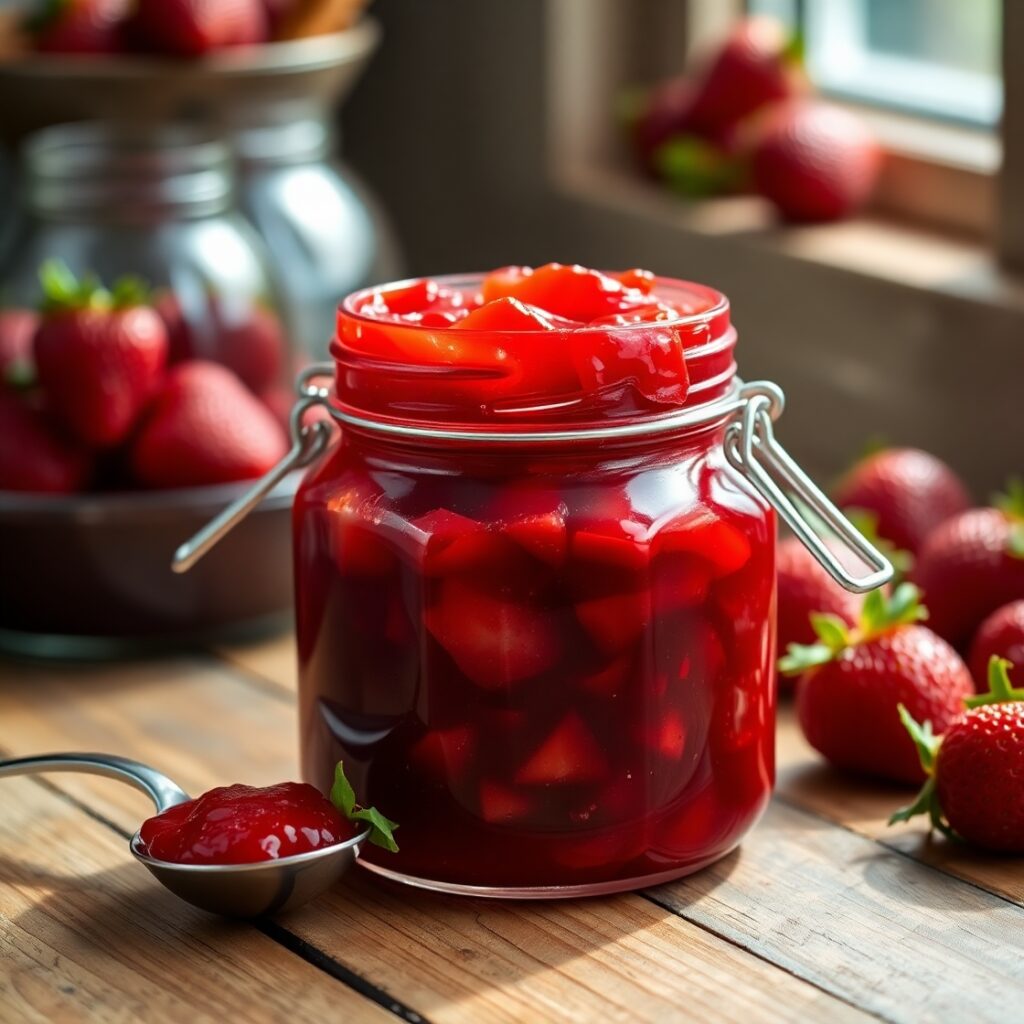
Use clear glass jars
Clear jars let the vibrant ruby red color shine through. If serving at a breakfast table or event, offer small jars or ramekins alongside fresh bread or scones.
Label it elegantly
If gifting or storing, add handwritten or printed labels with the date and ingredients. Tie a piece of twine or a ribbon around the lid for a rustic, homemade feel.
Serve at room temperature
Let the jam sit at room temperature for 15–20 minutes before serving. This softens its texture, making it easier to spread and bringing out its full flavor.
Pair with neutral tones
Serve the jam in white or wooden bowls or dishes to make the color pop naturally on the table.
Garnish subtly
A tiny fresh mint leaf or thin slice of strawberry placed atop a spoonful of jam on a plate adds an extra touch of elegance.
Tips and Tricks to Make This Recipe Better
Want to make the perfect jam every time? These are the tried-and-true tips that make all the difference:
Use ripe strawberries
Riper berries give you better flavor and natural sweetness. Slightly overripe is fine too—just avoid moldy or underripe ones.
Don’t overcook
While a thick jam is desirable, overcooking can make it rubbery or overly stiff. Keep testing with the cold plate method as you go.
Stir constantly at the end
Once the jam starts thickening, stir more frequently to prevent scorching and ensure even cooking.
Add flavors cautiously
While add-ins like vanilla, herbs, or balsamic vinegar can elevate the jam, use them sparingly to avoid overpowering the strawberries.
Let it cool before jarring
This helps fruit chunks stay suspended instead of floating to the top, giving you a more uniform jam throughout.
Use a wide pot
A wide-bottomed pot allows for faster evaporation, which helps the jam thicken properly without burning or taking too long to reduce.
Common Mistakes to Avoid
Even with a simple recipe, a few mistakes can cause disappointment.
Here’s what to avoid:
Using low-quality strawberries
Flavor starts with the fruit. If they’re bland or unripe, no amount of sugar can fix the taste.
Skipping the lemon juice
Lemon juice isn’t just for flavor—it helps the jam gel. Without it, your jam may stay runny.
Over-blending
Avoid using a blender unless you want a smooth puree. Mashing gently keeps some texture, which is more appealing in a classic jam.
Not testing for doneness
Eyeballing jam consistency is risky. Always test it on a chilled plate to ensure it sets correctly.
Failing to sterilize jars
Even if you’re refrigerating it, clean jars help preserve the jam longer and prevent mold.
Adding sugar too early when substituting fruits
If you try adding other fruits (like rhubarb or blueberries), their water content will vary. Hold off on sugar until the fruit starts cooking down.
How to Store It
Proper storage is key to enjoying your jam for months to come.
Refrigerator storage (short-term):
Store cooled jam in clean, airtight jars. It will keep in the fridge for up to 3 weeks.
Freezer storage:
Pour jam into freezer-safe containers, leaving 1/2-inch headspace. Freeze for up to 6 months. Thaw in the fridge overnight before using.
Canning for long-term storage:
Sterilize jars and lids, pour hot jam in, wipe the rims, seal, and process in a boiling water bath for 10 minutes.
Label jars with the date and store in a cool, dark place. Properly sealed jars can last up to 1 year.
Once opened, refrigerate and use within 3 weeks.
Tip: Always use a clean spoon to serve the jam to prevent contamination and extend shelf life.
FAQ
Q1: Can I use frozen strawberries?
Yes, just thaw them completely and drain excess water before starting. Keep in mind, frozen berries may result in a slightly looser jam due to higher water content.
Q2: Why didn’t my jam set properly?
This could be due to undercooking, not enough lemon juice, or excess moisture. Simmer a little longer and re-test using the cold plate method.
Q3: Can I reduce the sugar?
You can reduce the sugar slightly, but it may affect the texture and preservation. Too little sugar might lead to a softer set or shorter shelf life.
Q4: How do I make the jam chunkier or smoother?
For a chunkier texture, lightly mash the berries. For smoother jam, mash thoroughly or use an immersion blender toward the end of cooking.
Q5: Can I add other fruits?
Yes! Strawberries pair well with rhubarb, raspberries, or blueberries. Just adjust sugar and cooking time to match the fruit’s moisture and sweetness.

Strawberry Jam Recipe
- Total Time: 1 hour
- Yield: About 2 ½ cups (3 small jars)
- Diet: Vegetarian
Description
A luscious, small-batch strawberry jam made with just three ingredients—fresh strawberries, sugar, and lemon juice. It’s thick, rich, and bursting with berry flavor, and doesn’t require any pectin. This is a classic, foolproof recipe you can make in under an hour and enjoy all year long. Whether spread on toast, swirled into yogurt, or added to a cheese board, this jam is sure to become a pantry favorite.
Ingredients
- 2 pounds (900g) fresh strawberries, hulled and quartered
- 3 ½ cups (700g) granulated sugar
- 2 tablespoons fresh lemon juice
- Optional: pinch of salt (⅛ teaspoon)
Instructions
- Place the strawberries, sugar, and lemon juice in a wide, heavy-bottomed pot.
- Stir well and let the mixture sit for 15–30 minutes to macerate.
- Cook over medium heat until the mixture starts bubbling. Skim off foam.
- Use a potato masher to gently mash the strawberries as they cook.
- Stir frequently and simmer for 35–45 minutes until thickened.
- Test doneness on a cold plate—drag your finger through to see if it leaves a trail.
- Let jam cool for 10 minutes before transferring to sterilized jars.
- Seal jars and allow to cool completely before refrigerating or canning.
Notes
Use ripe, sweet strawberries for best flavor.
Adjust sugar slightly based on the sweetness of the berries.
Don’t skip lemon juice—it helps the jam set.
If canning, process jars in a boiling water bath for 10 minutes.
- Prep Time: 20 minutes
- Cook Time: 40 minutes
- Category: Preserves
- Method: Stovetop
- Cuisine: American
Nutrition
- Serving Size: About 2 ½ cups (3 small jars)
- Calories: 45