The first time I made this gluten free bread, it wasn’t about following a trend or exploring the world of specialty diets—it was necessity.
A close friend had recently been diagnosed with celiac disease, and watching her struggle to find a bread that didn’t taste like cardboard broke my heart. Every slice she tried was either too dry, oddly gummy, or loaded with additives trying to fake the texture of wheat bread.
That’s when I decided to take matters into my own hands.
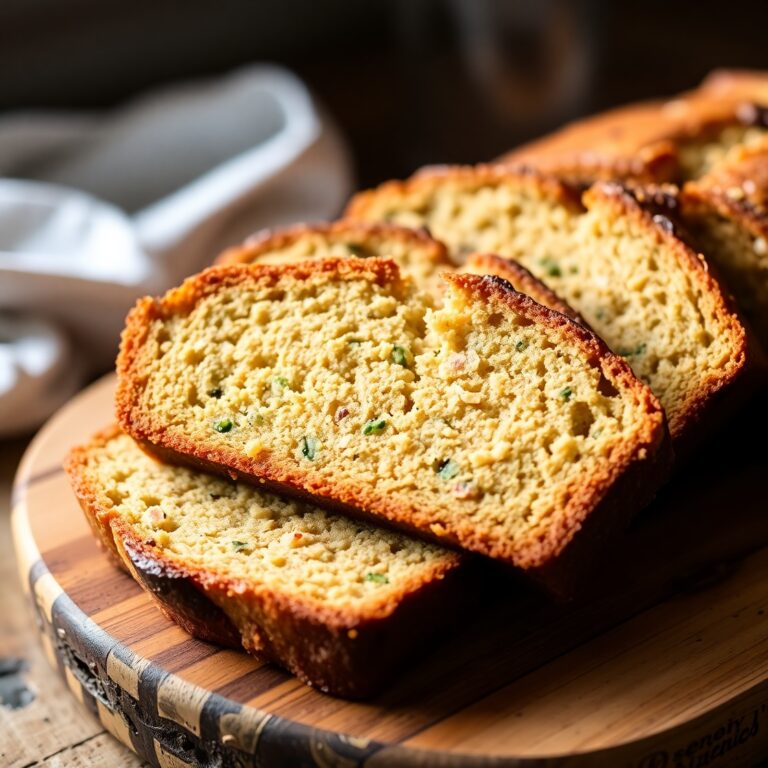
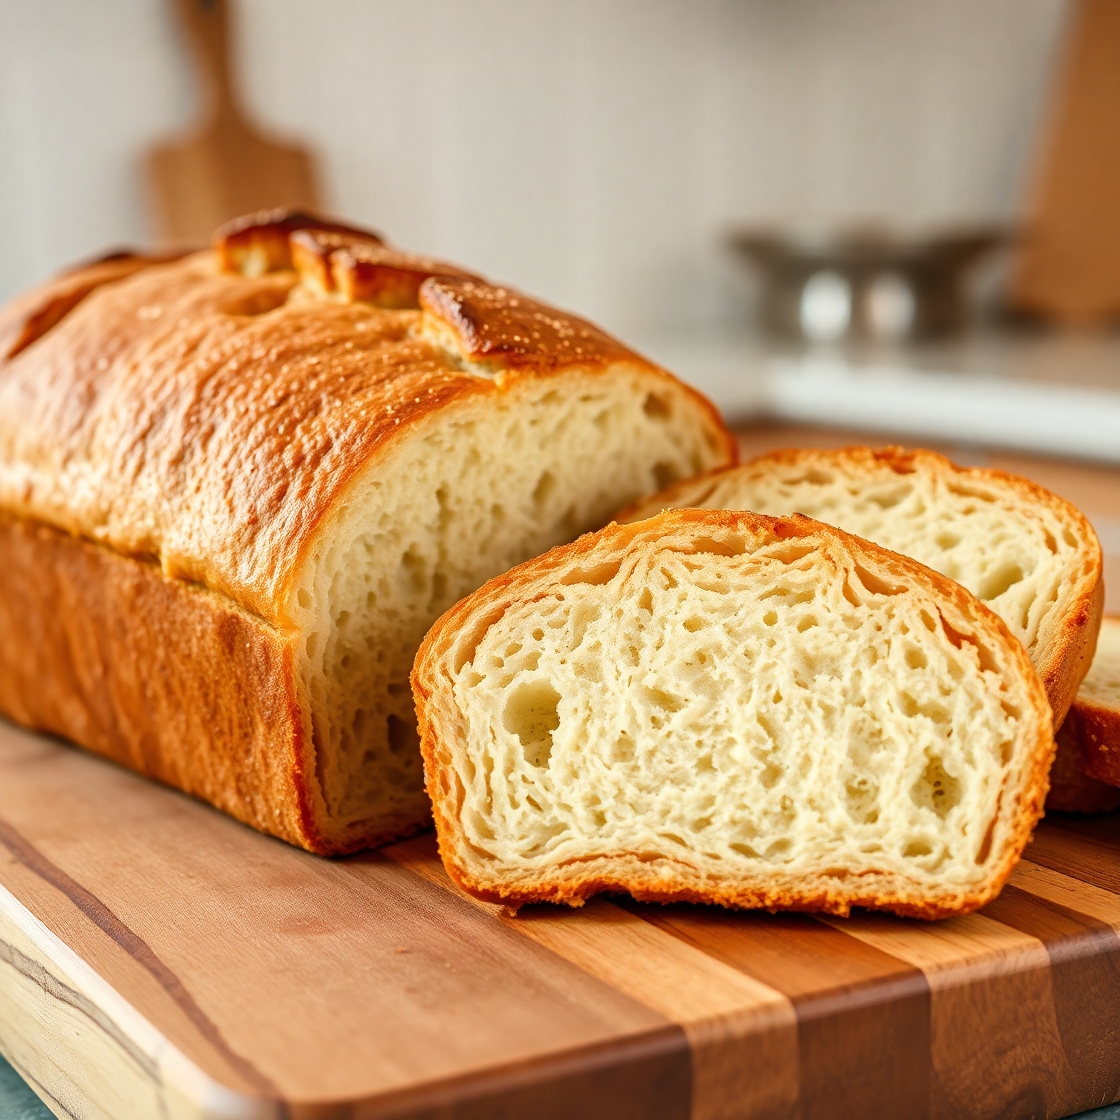
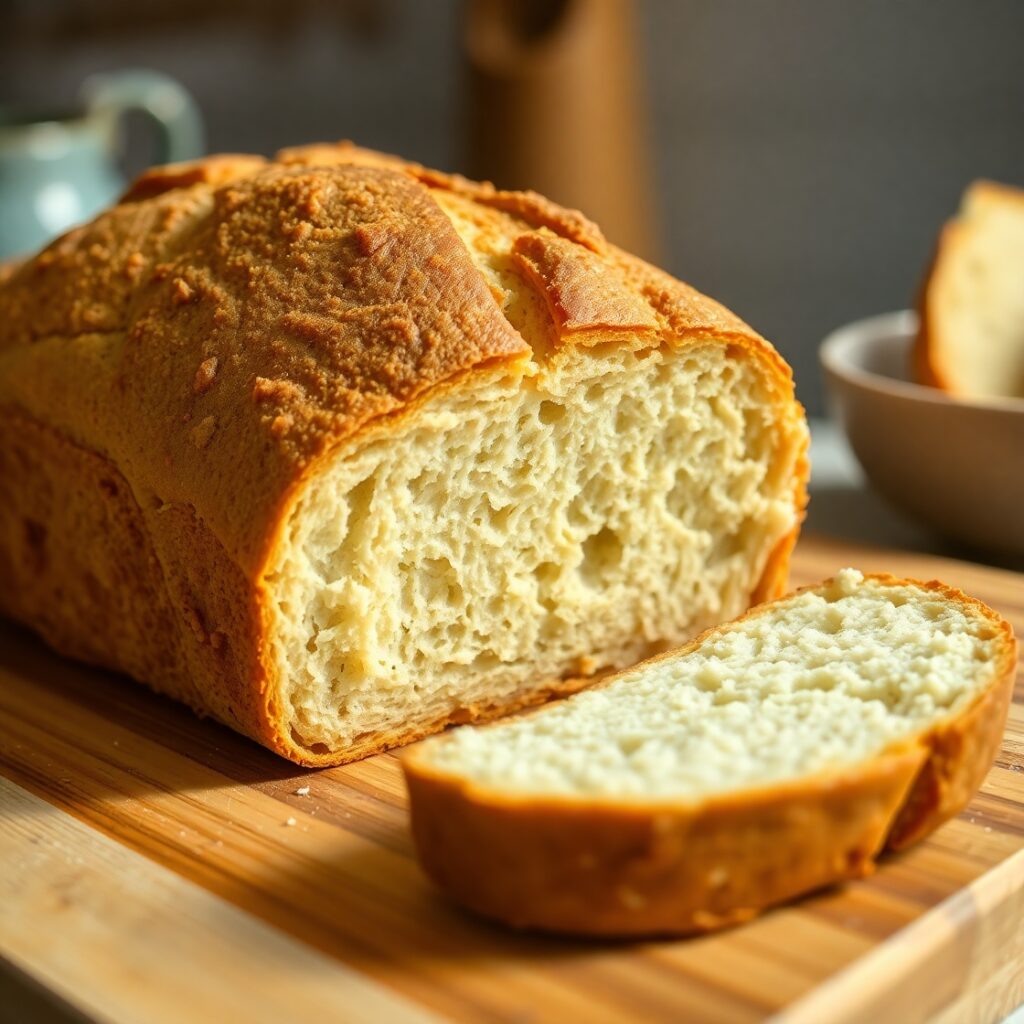
This gluten free bread recipe was born from the desire to create a loaf that tastes like real bread—soft on the inside, with a beautiful golden crust, and slices cleanly without crumbling into bits.
Whether you’re navigating life with gluten intolerance or simply seeking a better homemade alternative to store-bought gluten free loaves, this recipe promises to deliver.
Stick around—I’m going to show you how to create a loaf that’s so good, no one will guess it’s gluten free.
Why I Love This Recipe
Gluten free bread is often one of the most frustrating things to master in a gluten free kitchen.
Why?
Because gluten gives traditional bread its structure, chew, and elasticity. Once you take that out of the equation, you’re left needing a blend of science and artistry to replicate the texture and taste of wheat bread.
That’s what makes this recipe so special.
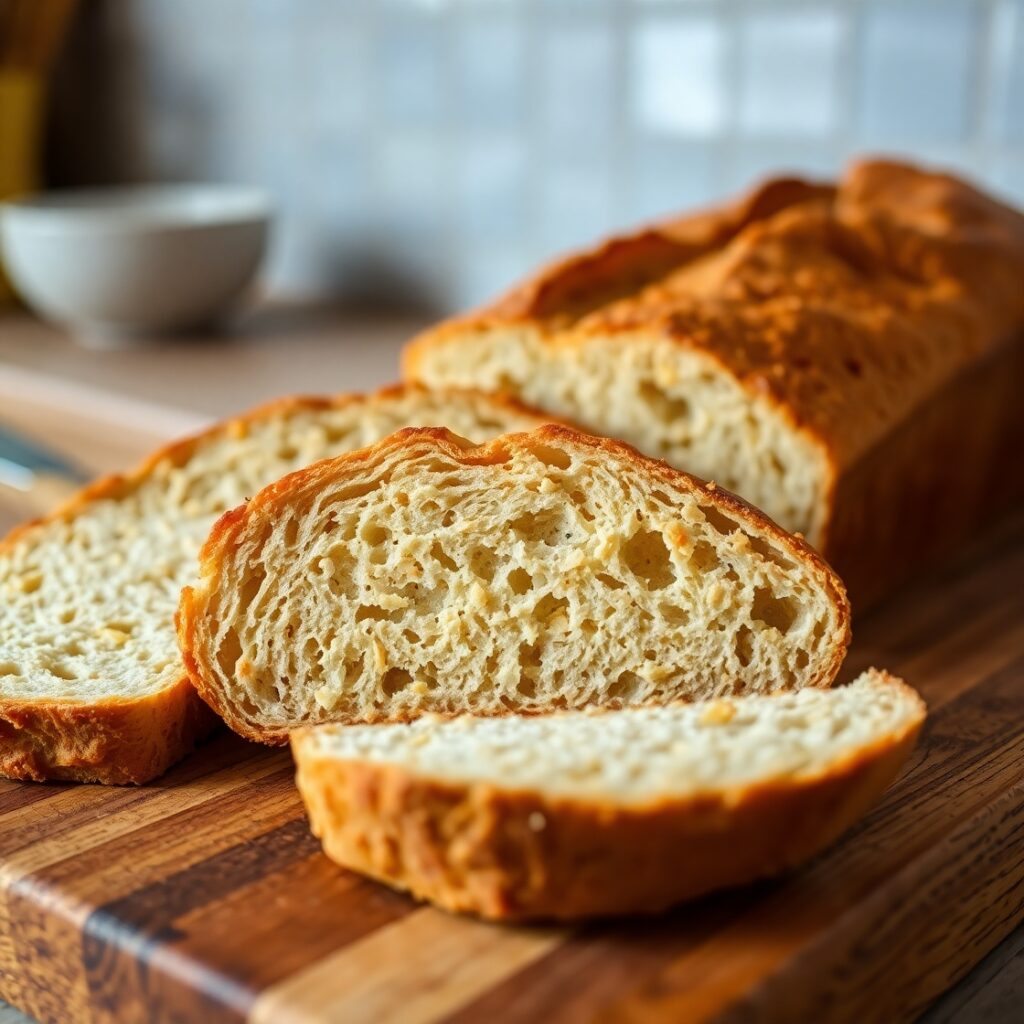
It doesn’t rely on one flour but instead uses a custom mix of naturally gluten free ingredients that balance starch, structure, and moisture perfectly. The result? A tender, airy crumb with a crust that toasts beautifully.
No more dense, gummy centers. No more dry, flavorless slices. And no long list of unpronounceable ingredients either.
This loaf comes together with real pantry staples—things you probably already have if you’ve ever attempted gluten free baking. It also requires no kneading, no rising overnight, and no intimidating dough shaping.
If you’ve ever felt intimidated by homemade gluten free bread, this recipe will change your mind.
It’s not just good for gluten free—it’s just good bread.
Ingredients for Gluten Free Bread
Creating a flavorful and reliable gluten free bread requires more than swapping wheat flour with a store-bought gluten free blend.
To achieve the ideal texture and structure, we need to blend different flours and binders carefully:
Gluten Free Flour Blend
A high-quality all-purpose gluten free flour is the base of this recipe. I recommend using a mix that includes rice flour, potato starch, and tapioca starch. Avoid blends that include bean flours—they can leave a strong aftertaste.
If you prefer a homemade blend, try this:
- 2 cups white rice flour
- 2/3 cup potato starch
- 1/3 cup tapioca flour
Xanthan Gum
This acts as a gluten replacement and provides elasticity and structure. If your flour blend doesn’t already include it, you’ll need to add 1½ teaspoons to the dry ingredients.
Yeast
Use instant yeast or active dry yeast. Both work well in this recipe.
Warm Water
Crucial for activating the yeast and hydrating the flours. Use water between 100°F and 110°F.
Eggs
Eggs add structure and moisture. You’ll need 3 large eggs, at room temperature.
Apple Cider Vinegar
Helps the bread rise by strengthening the dough’s structure. You’ll only need 1 tablespoon.
Oil
Oil keeps the bread soft and tender. Olive oil or neutral vegetable oil works well—use ¼ cup.
Sugar or Honey
Feeds the yeast and balances flavor. 1 tablespoon of sugar or honey is all it takes.
Salt
Salt enhances flavor and controls yeast activity. Don’t skip it—use 1¼ teaspoons.
These ingredients come together to create a balanced, moist, and tender loaf that behaves surprisingly like wheat bread.
How Much Time Will You Need?
Homemade gluten free bread takes less time than you might expect.
Here’s a breakdown of the timing:
- Prep Time: 20 minutes
- First Rise: 45–60 minutes
- Bake Time: 45–50 minutes
- Cooling Time: 1 hour (important for clean slicing)
From start to finish, you’re looking at about 2½ to 3 hours total—but only 20 minutes of active work.
Once it’s cooling on the counter, the smell alone will convince you it was worth every second.
How to Make This Gluten Free Bread
Follow these steps carefully, and you’ll have a perfect loaf on your first try.
Step – 1: Prepare the Pan and Ingredients
Grease a standard 9×5-inch loaf pan or line it with parchment paper.
If using a stand mixer, fit it with the paddle attachment. Otherwise, prepare a large mixing bowl.
Ensure all ingredients—especially eggs and water—are at room temperature.
Step – 2: Activate the Yeast
In a small bowl, combine the warm water, sugar (or honey), and yeast.
Stir gently and let sit for 5–10 minutes until the mixture is foamy. This confirms your yeast is alive and active.
Step – 3: Mix Dry Ingredients
In your mixing bowl, whisk together the gluten free flour, xanthan gum (if needed), and salt.
Blend thoroughly to ensure even distribution.
Step – 4: Add Wet Ingredients
Add the eggs, oil, vinegar, and the activated yeast mixture to the bowl of dry ingredients.
Mix on low until combined, then increase to medium speed and beat for 3–5 minutes.
The batter should be thicker than pancake batter but not as stiff as wheat bread dough. It will be more like thick cake batter.
Step – 5: Transfer and Rise
Spoon the batter into your prepared pan.
Smooth the top with a wet spatula. Cover the pan loosely with plastic wrap or a damp towel.
Let it rise in a warm, draft-free area for 45–60 minutes. It should rise slightly above the rim of the pan.
Step – 6: Bake
Preheat your oven to 375°F (190°C).
Bake the bread on the center rack for 45–50 minutes, or until the top is golden and the loaf sounds hollow when tapped.
An instant-read thermometer inserted into the center should read 200°F (93°C).
Step – 7: Cool Completely
Remove the loaf from the pan and let cool completely on a wire rack.
This is critical. Gluten free bread continues to set as it cools. Cutting it too early can lead to a gummy texture.
Once fully cooled, slice and enjoy.
Substitutions
You can adapt this recipe based on your pantry or dietary needs:
Egg-Free Version
Replace each egg with a flaxseed egg (1 tablespoon ground flaxseed + 3 tablespoons water). This works well, though the loaf may be slightly denser.
Dairy-Free
This bread is naturally dairy free as written, but always check your flour blend to be sure it doesn’t contain milk powder.
Yeast-Free Option
If you’re avoiding yeast, use 2 teaspoons baking powder + ½ teaspoon baking soda and skip the rising step. It won’t have the same chew or flavor depth but still makes a decent quick bread.
Sugar-Free
You can omit the sugar entirely or replace it with a sugar-free alternative like stevia or monk fruit sweetener. Just be sure your yeast still activates.
Best Side Dishes for Gluten Free Bread
Pair this bread with any of the following for a complete and satisfying meal:
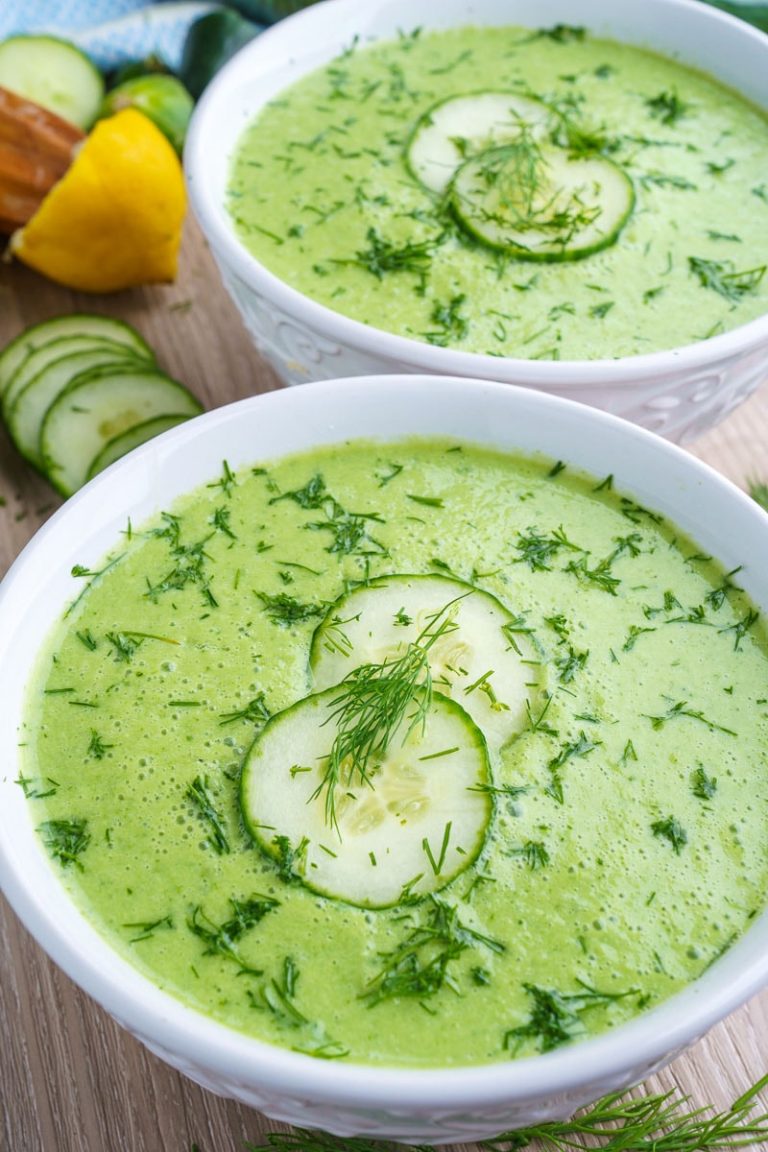
1. Creamy Butternut Squash Soup
The rich, velvety texture of the soup complements the hearty structure of the bread beautifully.
2. Shaved Brussels Sprout Salad with Lemon and Parmesan
This fresh, tangy salad adds brightness to a warm, toasty slice of bread.
3. Herbed Chicken Salad
Sandwich it between two slices or serve it open-faced—the savory herbs and tender chicken bring out the bread’s mild flavor.
Serving and Presentation Tips
The beauty of gluten free bread is that, when done right, it presents just like its wheat-based cousin—without anyone knowing the difference.
Here are some smart ways to serve and present it:
Let It Cool Completely Before Slicing
Don’t rush it. This bread continues to set as it cools, and slicing too early may cause a gummy or sunken interior. Wait at least one hour.
Slice with a Serrated Bread Knife
Always use a serrated knife for cleaner cuts. Avoid pressing down too hard—let the blade do the work.
Toast for the Perfect Crunch
This bread toasts beautifully. Whether in a pan with butter or in a toaster, it develops a golden, crisp surface that’s perfect for sandwiches or spreads.
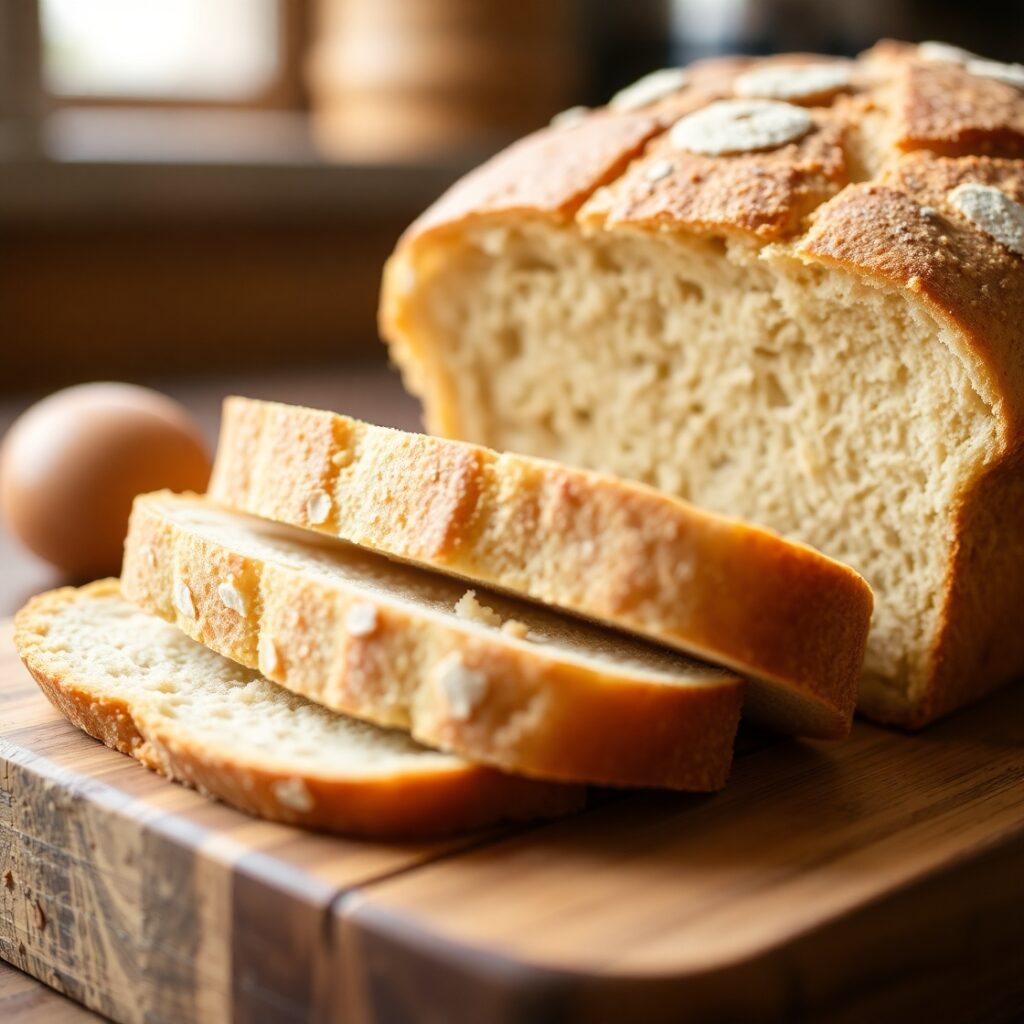
Show Off the Crust
Serve slices face-up to highlight the golden top crust. Add a simple swipe of whipped butter, mashed avocado, or jam for color and appeal.
Cut Even Slices
Uniform slices are not only easier to toast and store—they also look more polished when served.
Tips and Tricks to Make This Recipe Even Better
Want your gluten free bread to taste like it came from an artisan bakery?
Here’s what makes the difference:
Use a Kitchen Scale
Measuring by weight ensures your flour ratio is spot on. Especially important for gluten free blends where volume can be misleading.
Warm the Water Properly
Water that’s too hot will kill the yeast; too cold, and it won’t activate. Aim for 100°F–110°F.
Beat the Batter Well
Don’t be afraid to beat the batter for 3–5 minutes. Unlike gluten breads, you’re not risking overdevelopment here. This aerates the dough and ensures even hydration.
Try a Proofing Box or Warm Oven
Gluten free doughs benefit from a warm, stable environment during rise time. If your kitchen is cold, turn your oven to the lowest setting for 1 minute, then turn it off and place your covered pan inside to rise.
Add Seeds or Toppings
Sprinkle sunflower seeds, sesame seeds, or oats on top of the dough before baking for a bakery-style finish.
Common Mistakes to Avoid
Avoiding these pitfalls can mean the difference between a flawless loaf and a dense disappointment:
1. Skipping the Xanthan Gum (or Adding Too Much)
Too little, and the loaf will fall apart. Too much, and it turns gummy. If your flour blend already contains it, don’t add extra.
2. Using Cold Ingredients
Eggs and liquids should be room temperature for proper yeast activation and structure.
3. Not Letting It Cool Before Slicing
Tempting as it is, slicing into hot gluten free bread ruins the crumb and texture.
4. Using the Wrong Pan Size
Too large and your loaf will be short and squat; too small and it may overflow. Stick with a standard 9×5-inch loaf pan.
5. Overproofing
If the dough rises too long, it may collapse in the oven. Once it reaches just over the top of the pan, it’s ready to bake.
How to Store It
Room Temperature (Short-Term)
Once fully cooled, store the bread in an airtight container or bread bag at room temperature for up to 2 days.
Refrigeration (Medium-Term)
Wrap tightly in plastic wrap or a resealable bag. Refrigerate for up to 5 days. Note: This may cause slight drying. Toasting before serving will help.
Freezing (Long-Term)
For best results, slice the loaf and separate the slices with parchment paper. Store in a freezer-safe zip-top bag for up to 2 months. You can toast directly from frozen.
Avoid Moisture
Never store gluten free bread loosely in a plastic bag. Always ensure it is well-wrapped and moisture-protected.
FAQ
Q1: Can I use a pre-made gluten free flour blend?
Yes! Choose one that includes rice flour, tapioca starch, and potato starch. Avoid blends with bean flours or sorghum unless you’re familiar with the flavor profile.
Q2: Why is my bread gummy inside?
This often happens if the bread wasn’t baked long enough or wasn’t cooled completely. Always use a thermometer to confirm it has reached 200°F internally.
Q3: Can I make this without eggs?
Yes. Use flax eggs (1 tbsp flaxseed meal + 3 tbsp water per egg) or egg replacers like Bob’s Red Mill. Texture may be slightly denser.
Q4: What’s the best way to toast gluten free bread?
Toasting in a dry skillet or traditional toaster both work well. Add a little butter or olive oil for extra flavor and crunch.
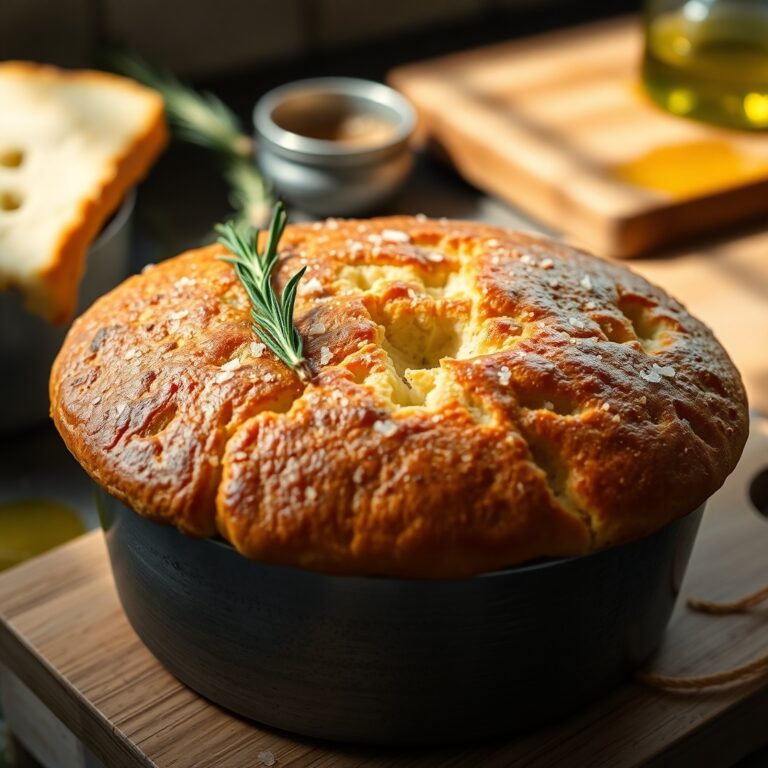
Q5: Can I add herbs or cheese to this bread?
Absolutely. Fold in ½ cup of shredded cheese or 2 tablespoons of finely chopped fresh herbs like rosemary or thyme for added flavor.
Gluten Free Bread Recipe
- Total Time: 2 hours 30 minutes
- Yield: 1 standard loaf
- Diet: Gluten Free
Description
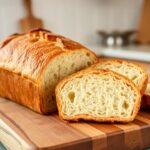
This gluten free bread recipe is soft, golden, and surprisingly easy to make. Using a perfect balance of flours, this loaf has a tender crumb and gorgeous crust—no kneading, no overnight proofing, just straightforward ingredients and incredible results. It slices cleanly, toasts like a dream, and makes for the best gluten free sandwiches you’ll ever eat. Whether you’re new to gluten free baking or a seasoned pro, this is the only bread recipe you’ll need in your arsenal.
Ingredients
- 3 cups gluten free all-purpose flour blend
- 1½ teaspoons xanthan gum (if not in flour blend)
- 1¼ teaspoons salt
- 1 tablespoon sugar or honey
- 1 tablespoon apple cider vinegar
- 3 large eggs, room temperature
- ¼ cup olive oil or vegetable oil
- 1 packet (2¼ tsp) instant yeast
- 1¾ cups warm water (100°F–110°F)
Instructions
- Grease a 9×5-inch loaf pan or line it with parchment paper.
- Combine warm water, sugar, and yeast in a small bowl. Let stand until foamy, about 5–10 minutes.
- In a large mixing bowl, whisk together flour, xanthan gum (if needed), and salt.
- Add eggs, oil, vinegar, and the yeast mixture. Mix on medium speed for 3–5 minutes.
- Transfer batter to the pan, smooth the top, and let rise 45–60 minutes until slightly above the rim.
- Preheat oven to 375°F. Bake 45–50 minutes until golden brown and internal temp reaches 200°F.
- Cool completely on a wire rack before slicing.
Notes
Let the bread cool for at least an hour before slicing for best texture.
For a heartier loaf, mix in seeds or nuts before baking.
You can freeze slices and toast directly from frozen.
- Prep Time: 20 minutes
- Cook Time: 45–50 minutes
- Category: bread
- Method: Baking
- Cuisine: American
Nutrition
- Serving Size: 1 slice (1/12 of loaf)
- Calories: 210