When I first made this chicken tenders recipe, it was out of a need to create something comforting, crispy, and satisfying that the whole family would actually eat—no complaints, no picking around the edges of the plate.
It’s one of those meals that instantly sparks nostalgia. Whether it’s the memory of ordering them from a diner as a kid, or making a big batch for a weekend game night, chicken tenders have a way of bringing people together.
But what makes this version different?
These are not your average freezer-aisle tenders. These are hand-breaded, golden-crisp, and juicy on the inside.
Once you try these at home, you’ll never go back to store-bought again—and the best part? They’re easier to make than you think.
Let me show you how.
Why I Love This Recipe
There’s something universally comforting about chicken tenders.
They’re a go-to for picky eaters, an ideal quick dinner, and they fit into almost any occasion—from casual family meals to potlucks and picnics. But the real reason this recipe stands out is the texture.
We’re talking about perfectly seasoned chicken, marinated for tenderness, then coated in a double-layer of flour and breadcrumbs for the crispiest bite. Every piece is juicy on the inside with a coating that crunches when you bite in.
And they’re oven-baked or pan-fried—your choice. That means they can be lightened up without sacrificing flavor.
This recipe is a household staple because:
- It uses everyday ingredients.
- It’s faster than running out for takeout.
- You can prep it ahead and even freeze for later.
- Everyone loves it. No exceptions.
Whether you’re serving toddlers or grown-up guests, these tenders are always a hit. It’s one of those recipes you’ll find yourself making again and again.
Ingredients for Chicken Tenders Recipe
To get that signature crunch and flavor, we’re using basic ingredients—just handled the right way. Here’s everything you’ll need:
Chicken:
Start with boneless, skinless chicken breasts or tenderloins. If you use breasts, slice them into long, even strips.
Marinade (for flavor and moisture):
Buttermilk is the key. It tenderizes the meat while adding a subtle tang.
- Buttermilk
- Garlic powder
- Onion powder
- Paprika
- Salt and black pepper
Coating (for that signature crispy exterior):
We use a two-part dredging method:
- All-purpose flour
- Cornstarch (for added crunch)
- Eggs
- Panko breadcrumbs (they give the crispiest finish)
- Garlic powder, paprika, cayenne (just a hint of heat)
- Salt and pepper
Oil (for frying or brushing):
Use vegetable oil for frying, or olive oil for brushing if baking.
How Much Time Will You Need?
Here’s the beauty of this recipe—it’s fast.
Prep Time: 15 minutes
Marinating Time: 30 minutes (optional but recommended)
Cook Time: 15–20 minutes
Total Time: Around 45 minutes to 1 hour (including marination)
If you skip the marinating step, you can have these on the table in about 30 minutes.
How to Make This Chicken Tenders Recipe
This method ensures maximum flavor, crispiness, and juiciness—every single time.
Step – 1: Marinate the Chicken
In a large bowl, combine the buttermilk, garlic powder, onion powder, paprika, salt, and pepper. Add the chicken strips and toss until well coated. Cover and refrigerate for at least 30 minutes, or up to 8 hours.
This step helps break down the chicken fibers and infuses flavor into every bite.
Step – 2: Prepare the Dredging Station
Set up three shallow bowls:
- Bowl 1: All-purpose flour mixed with cornstarch, salt, pepper, paprika, garlic powder, and a pinch of cayenne.
- Bowl 2: Lightly beaten eggs.
- Bowl 3: Panko breadcrumbs.
Having your dredging station organized makes the breading process smoother.
Step – 3: Bread the Chicken
Remove chicken pieces from the marinade, shaking off excess. Dredge each strip in the flour mixture, then dip into the beaten eggs, then press into the panko breadcrumbs. Make sure each piece is evenly coated.
For ultra-crispy tenders, repeat the egg and panko step once more for a double coating.
Step – 4: Choose Your Cooking Method
Pan-Fry Method:
Heat 1 to 1½ inches of oil in a deep skillet to 350°F (175°C).
Fry chicken tenders in batches for 3–4 minutes per side until golden brown and cooked through.
Transfer to a paper towel-lined plate.
Baked Method:
Preheat oven to 425°F (220°C). Line a baking sheet with parchment and place a wire rack on top.
Spray or brush the breaded chicken with oil and bake for 18–20 minutes, flipping halfway, until golden and cooked through.
Step – 5: Let Them Rest
Once cooked, rest the tenders for 2–3 minutes before serving. This allows the juices to redistribute and helps retain that crispy texture.
Substitutions
Whether you’re out of an ingredient or catering to dietary needs, here are a few reliable swaps:
No Buttermilk?
Mix 1 cup milk with 1 tablespoon lemon juice or white vinegar. Let sit for 5 minutes—instant homemade buttermilk.
No Panko?
Use crushed cornflakes or crushed Ritz crackers. These also give an amazing crunch.
Want to make it gluten-free?
Use gluten-free flour blends and gluten-free panko or crushed rice crackers. Just be sure all other seasonings and sauces are certified gluten-free.
Low-fat option?
Use skinless chicken breast and bake instead of fry. You can also skip the double dredge.
Spice level too high?
Omit the cayenne and tone down the paprika. Or swap in smoked paprika for flavor without heat.
Best Side Dishes for Chicken Tenders
To round out the meal, here are three perfect pairings:
1. Creamy Coleslaw:
Its tangy crunch balances the richness of the chicken beautifully.
2. Garlic Mashed Potatoes:
A comforting, fluffy contrast to the crispy exterior of the tenders.
3. Honey Mustard Dipping Sauce or Ranch:
These sauces double as sidekick and dip—bringing everything together.
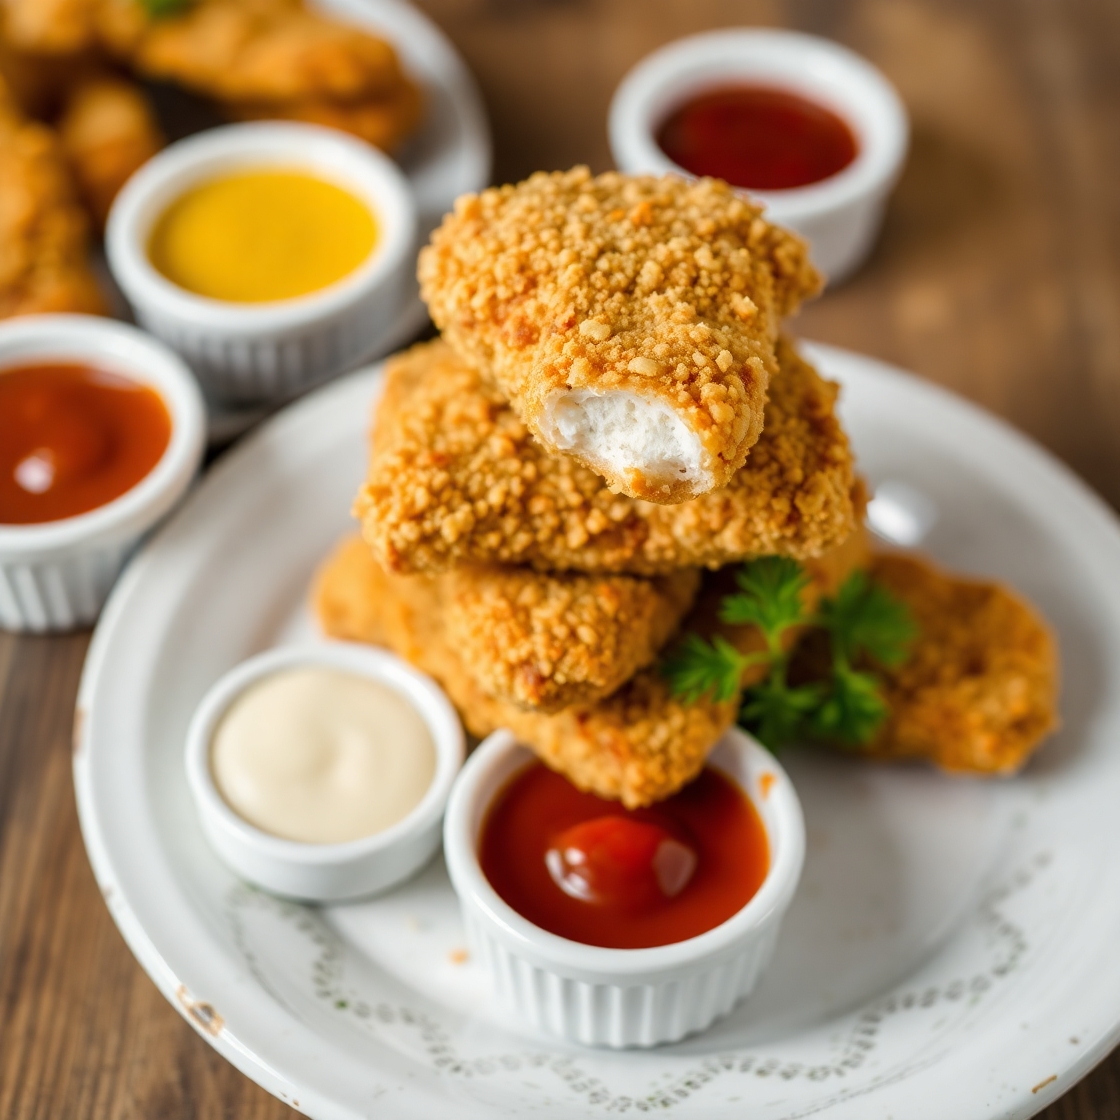
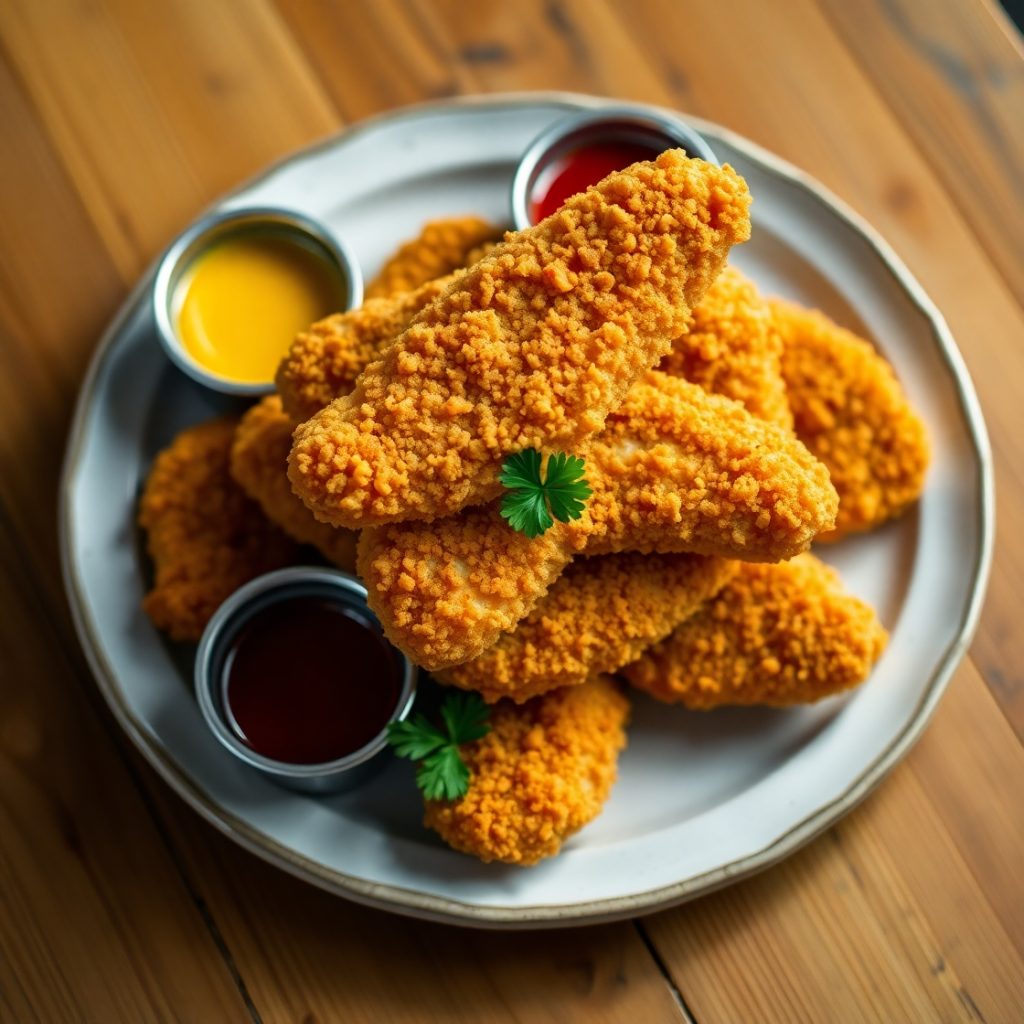
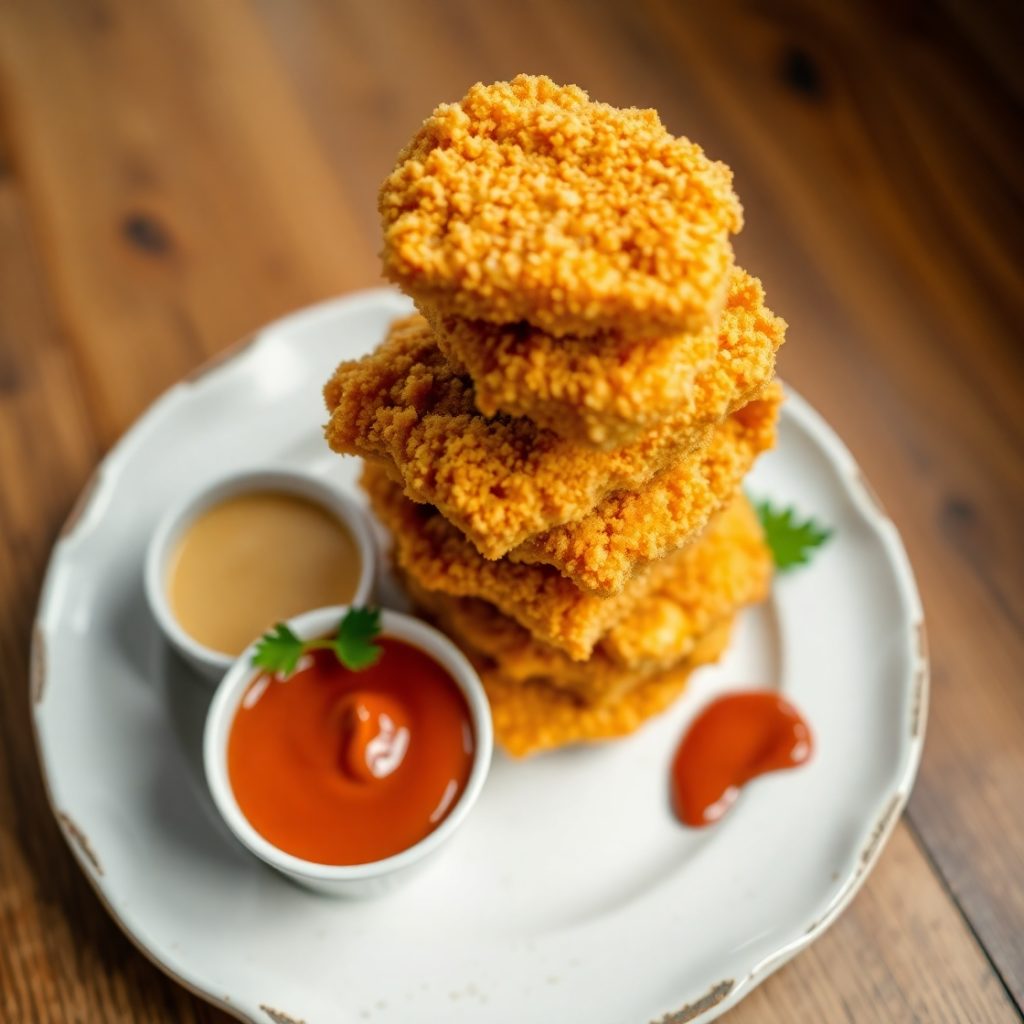
Serving and Presentation Tips
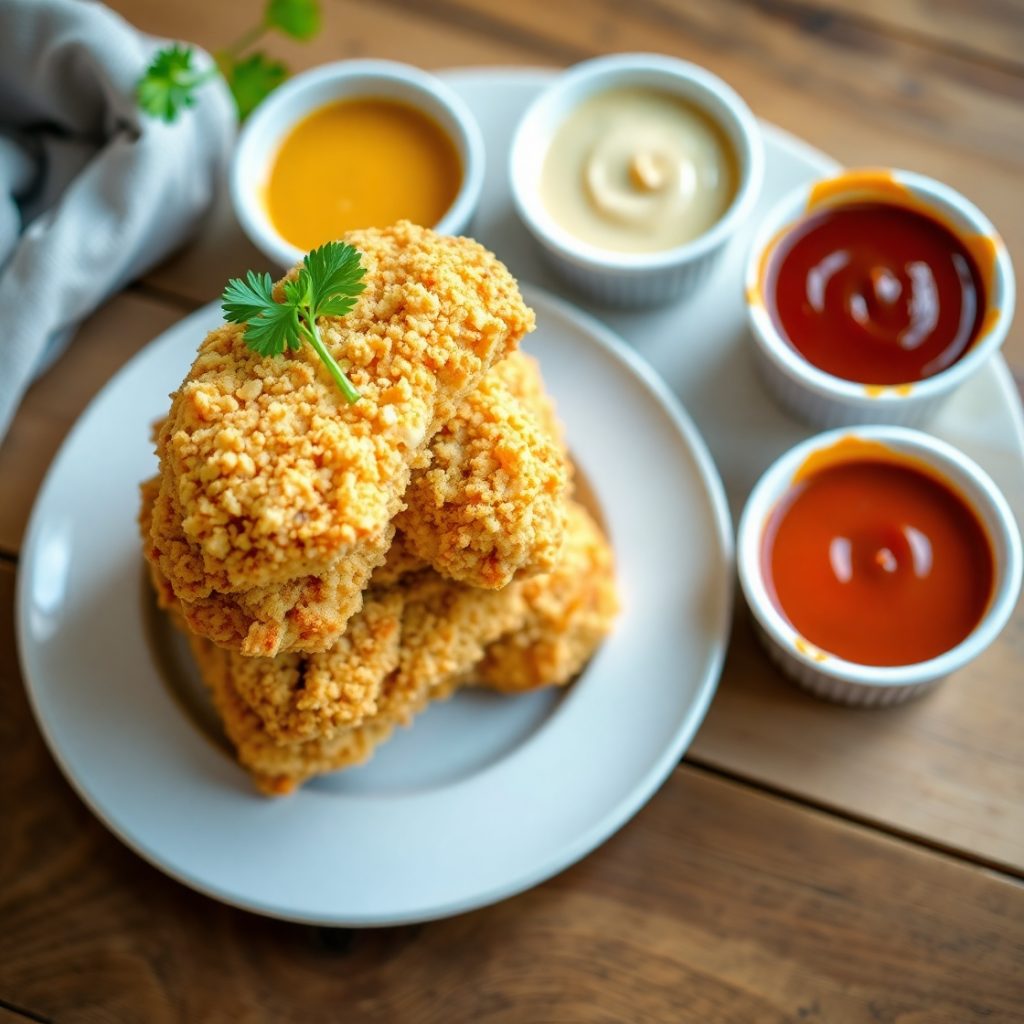
The best chicken tenders don’t just taste incredible—they look irresistible on the plate too.
To make them look as good as they taste, serve them stacked or slightly overlapped on a platter lined with parchment or butcher paper for a casual, rustic look. If you want a more elegant presentation, arrange them in a fan shape on a large white platter with fresh herbs like parsley or thyme as garnish.
Pair with small ramekins of dipping sauces—think honey mustard, spicy mayo, or BBQ—each placed strategically to invite dipping. A sprinkle of flaky sea salt right before serving adds a touch of sparkle and flavor pop.
For family meals, serve with a heap of homemade fries or slaw on the side of a large wooden board—perfect for a shareable experience.
Tips and Tricks to Make This Recipe Even Better
Want ultra-crispy tenders that rival your favorite diner or fast food chain?
Here are my best secrets:
- Double Dredge for Double Crunch:
Dip the tenders in flour, then egg, then breadcrumbs. For extra crispiness, repeat the egg and breadcrumb step one more time. - Let the Coating Set Before Cooking:
Once breaded, place tenders on a baking rack and let them rest for 10–15 minutes. This helps the coating adhere better and prevents it from falling off during cooking. - Use a Wire Rack When Baking:
Elevating the chicken lets hot air circulate around it, giving you a crisp exterior even without frying. - Don’t Overcrowd the Pan:
Whether baking or frying, too many tenders at once leads to steaming instead of crisping. Cook in batches if needed. - Season Every Layer:
From marinade to flour to breadcrumbs—don’t skip seasoning each layer. That’s where real flavor comes from.
Common Mistakes to Avoid
Even the best cooks can make a few missteps. Here’s how to steer clear of them:
- Skipping the Marinade:
It’s tempting to skip the marination step, but it makes a huge difference in flavor and tenderness. Even 30 minutes helps. - Not Preheating the Oil or Oven:
If your oil isn’t hot enough or your oven isn’t preheated, your coating won’t crisp—it’ll just soak up oil or dry out. - Overcooking the Chicken:
Chicken tenders are small and cook quickly. Use a meat thermometer—internal temp should hit 165°F (74°C). - Underseasoning the Breading:
A bland coating leads to bland tenders. Be generous with spices in your flour and breadcrumb mixes. - Skipping the Rest After Cooking:
Letting tenders rest for a few minutes before serving helps keep the inside juicy and the crust crispy.
How to Store It
Made a big batch or have leftovers? No problem.
To Refrigerate:
Let the tenders cool completely. Store in an airtight container lined with paper towels (to absorb moisture) for up to 4 days.
To Freeze:
Place cooled tenders on a baking sheet and freeze until solid. Transfer to a zip-top freezer bag and store for up to 2 months.
To Reheat:
Skip the microwave—reheat in a 375°F (190°C) oven for 10–12 minutes or in an air fryer for 5–6 minutes. This brings back the crispiness.
FAQ
Q: Can I bake these instead of frying?
Yes, absolutely. Baking at a high temperature (425°F) on a wire rack ensures a crispy exterior with much less oil.
Q: What’s the best way to reheat chicken tenders without drying them out?
Use the oven or air fryer, not the microwave. A few minutes in a hot oven crisps the coating and keeps the inside moist.
Q: Can I make these ahead of time?
Yes! You can bread them and refrigerate up to 24 hours before cooking. Or freeze after breading and cook from frozen—just add 5–7 minutes to baking time.
Q: How do I know the chicken is cooked through?
The internal temperature should read 165°F (74°C). The outside will be golden, and juices should run clear.
Q: Can I use chicken thighs instead of breasts?
Yes. Boneless, skinless thighs are juicier and slightly more flavorful. Just cut into strips and follow the same process.

Chicken Tenders Recipe
- Total Time: 45–60 minutes (including marinating)
- Yield: 4 servings
- Diet: Halal
Description
These homemade chicken tenders are crispy on the outside, juicy on the inside, and seasoned all the way through. Whether you fry or bake them, they come out golden and full of flavor—every single time. Perfect for family dinners, meal prep, or casual entertaining, they’re a million times better than frozen tenders and easier to make than you think. Serve with your favorite dipping sauce and some crunchy slaw or fries for a meal everyone will love.
Ingredients
- 1.5 lbs chicken breasts or tenderloins, cut into strips
- 1 cup buttermilk
- 1 tsp garlic powder
- 1 tsp onion powder
- 1 tsp paprika
- Salt and pepper to taste
- 1 cup all-purpose flour
- 2 tbsp cornstarch
- 2 large eggs, beaten
- 1.5 cups panko breadcrumbs
- ¼ tsp cayenne pepper (optional)
- Oil for frying or brushing
Instructions
-
In a bowl, mix buttermilk, garlic powder, onion powder, paprika, salt, and pepper. Add chicken and marinate for at least 30 minutes.
-
Set up dredging station: flour + cornstarch and seasonings in one bowl, beaten eggs in another, panko in a third.
-
Remove chicken from marinade. Coat in flour, dip in egg, then coat in panko. Repeat egg and panko for a double crunch.
-
For frying: Heat oil to 350°F. Fry tenders in batches, 3–4 minutes per side. Drain on paper towels.
-
For baking: Preheat oven to 425°F. Place tenders on a rack-lined baking sheet, spray or brush with oil. Bake 18–20 minutes, flipping halfway.
-
Let rest a few minutes before serving.
Notes
-
Rest the breaded tenders before cooking to help coating stick.
-
Try crushed cornflakes or crackers if you don’t have panko.
-
Add more cayenne if you want heat, or smoked paprika for a milder flavor boost.
- Prep Time: 15 minutes
- Cook Time: 15–20 minutes
- Category: Dinner, Appetizer
- Method: Pan Fry or Bake
- Cuisine: American
Nutrition
- Serving Size: 1/4 of recipe
- Calories: 365