There’s something incredibly nostalgic and comforting about the smell of freshly baked bread wafting through a home. That warm, yeasty aroma, the crisp crackle as you tear into a golden crust, and the soft, chewy center—French bread holds a special place in the hearts of home bakers and food lovers alike.
I created this French bread recipe after a particularly disappointing run with store-bought loaves that felt more like sponge cake than anything artisan. I wanted a classic, no-fuss bread with a perfectly golden crust, a rustic shape, and that unmistakable chewiness inside.
This is the kind of bread you can build dinner around: the centerpiece of a cozy meal, ideal for tearing and dipping into a rich stew or layering with salted butter.
Whether you’re a beginner looking to break into bread baking or a seasoned baker craving a simple, rustic loaf—this French bread is the one to master.
Why I Love This Recipe
French bread has a certain simplicity and elegance. It doesn’t try to impress with elaborate toppings or ingredients. Instead, it delivers pure satisfaction from the humblest elements: flour, water, salt, and yeast.
What makes this recipe special isn’t just the result—it’s the process. There’s a rhythm to bread baking that slows everything down. Mixing, kneading, rising, shaping—it becomes a meditative experience. The outcome is deeply rewarding: crusty loaves with a beautifully airy crumb and a flavor that’s rich from a slow fermentation.
This recipe stands out because it brings bakery-quality results to your home kitchen without the need for special equipment. You don’t need a stand mixer or a stone oven—just a bowl, a baking sheet, and a little patience.
Plus, it’s incredibly versatile. Serve it fresh with soup, toast it for breakfast, or use it for your favorite sandwich. Once you taste it, you’ll understand why French bread has endured as a timeless staple.
Ingredients for French Bread
To make traditional French bread, you don’t need a long shopping list—just five simple ingredients, and maybe a touch of love and patience.
All-Purpose Flour (or Bread Flour):
Flour is the foundation of any bread. While all-purpose flour works wonderfully, bread flour gives a slightly chewier texture thanks to its higher protein content. Either will do, but if you want a bit more structure, go with bread flour.
Warm Water:
The temperature matters here—lukewarm, around 105–110°F (40–43°C), activates the yeast without killing it. Cold water will slow the rise, and hot water will destroy your yeast.
Active Dry Yeast:
Yeast is the magic-maker here. It causes the dough to rise and adds that distinct bread flavor. Be sure to check the expiration date—it needs to be fresh and active.
Sugar:
Just a teaspoon helps to activate the yeast and gives a gentle boost to the flavor. It’s not enough to make the bread sweet—just balanced.
Salt:
This controls fermentation, adds flavor, and strengthens the dough. Without salt, your bread will taste flat and ferment too quickly.
That’s it—simple, clean ingredients that transform with time and care into something extraordinary.
How Much Time Will You Need?
Bread baking is a slow, beautiful process. This recipe isn’t difficult, but it does require time to let the dough rise and develop flavor.
Here’s the breakdown:
- Prep Time: 20 minutes
- First Rise (Bulk Fermentation): 1.5 to 2 hours
- Shaping & Second Rise: 45 to 60 minutes
- Baking Time: 25 to 30 minutes
- Cooling Time (Before Slicing): 30 minutes
Total Time: Around 3.5 to 4 hours from start to finish. Most of this is hands-off time, perfect for tackling other kitchen tasks or relaxing with a good book.
How to Make This French Bread
Step 1: Activate the Yeast
In a large mixing bowl, combine 2 ¼ teaspoons (1 packet) of active dry yeast with 1 teaspoon of sugar and 1 cup of warm water (about 110°F).
Let it sit for 5–10 minutes until foamy. This means the yeast is alive and ready to work.
If the mixture doesn’t foam, discard it and try again with fresh yeast.
Step 2: Make the Dough
Add 3 cups of flour and 1 ½ teaspoons of salt to the bowl.
Stir with a wooden spoon or rubber spatula until a shaggy dough forms.
Turn the dough onto a floured surface and knead for about 8–10 minutes. You’re looking for a smooth, elastic texture. If the dough is too sticky, sprinkle in a tablespoon of flour at a time—but don’t overdo it.
The dough should be tacky but not sticking to your hands.
Step 3: First Rise
Place the dough in a lightly greased bowl. Cover with a damp kitchen towel or plastic wrap.
Let it rise in a warm, draft-free spot for 1.5 to 2 hours, or until doubled in size.
Step 4: Shape the Loaves
Punch down the dough to release air bubbles.
Turn it out onto a lightly floured surface and divide it into two equal portions.
Shape each piece into a long oval or cylinder (about 12 inches). Tuck and pinch the seams underneath to keep the shape tight.
Place the loaves on a parchment-lined baking sheet. Leave a few inches of space between them.
Step 5: Second Rise
Cover the loaves loosely with a damp towel or greased plastic wrap.
Let them rise again for 45 to 60 minutes, until puffy.
While the loaves rise, preheat your oven to 425°F (220°C). Place an empty metal baking pan on the bottom rack (you’ll use this to create steam).
Step 6: Score and Steam
Just before baking, use a very sharp knife or bread lame to score each loaf with three diagonal slashes. This helps control how the bread expands in the oven.
Place the baking sheet on the middle rack, then carefully pour 1 cup of hot water into the preheated metal pan below.
The steam helps develop a crisp, golden crust.
Step 7: Bake
Bake for 25 to 30 minutes, or until the loaves are golden brown and sound hollow when tapped.
If you have an instant-read thermometer, the internal temperature should be around 200°F (93°C).
Step 8: Cool
Transfer the loaves to a wire rack.
Let them cool for at least 30 minutes before slicing. This allows the crumb to set and prevents gumminess.
Substitutions
Bread baking leaves room for a few variations, depending on what you have on hand or your dietary needs:
Flour:
You can substitute all-purpose flour with bread flour for a chewier texture, or use a 50/50 mix of whole wheat and white flour for more nutty depth. Avoid using 100% whole wheat unless you adjust the hydration and kneading time—it makes a denser loaf.
Yeast:
Instant yeast can replace active dry yeast in equal amounts. Skip the activation step and mix it directly into the flour.
Sugar:
Honey or maple syrup can replace sugar in equal amounts. These natural sweeteners also add subtle flavor complexity.
Salt:
Kosher salt or sea salt can be used instead of table salt. If you substitute by weight, the result is more consistent.
Add-ins:
Though traditional French bread is plain, you can fold in roasted garlic, herbs, or shredded cheese during shaping for a flavorful twist.
Best Side Dishes for French Bread
A well-baked French bread loaf is versatile enough to complement a variety of meals. Here are three side dishes that pair beautifully:
1. Creamy Tomato Basil Soup
Dipping warm bread into a silky, tangy tomato soup is comfort food at its finest.
2. Beef Bourguignon
A rich, slow-cooked French stew that practically begs for torn-off pieces of crusty bread to soak up the wine-rich sauce.
3. Herbed Olive Oil Dip
Perfect for entertaining or as a simple appetizer—serve slices of French bread with a shallow dish of extra-virgin olive oil infused with herbs, garlic, and crushed red pepper.
Serving and Presentation Tips
There’s something undeniably elegant about presenting homemade French bread, and with just a few thoughtful touches, you can make it feel like it came straight from a Parisian boulangerie.
Slice with Care:
Always let the bread cool completely before slicing. Use a serrated bread knife to achieve clean, crisp slices without squashing the crumb.
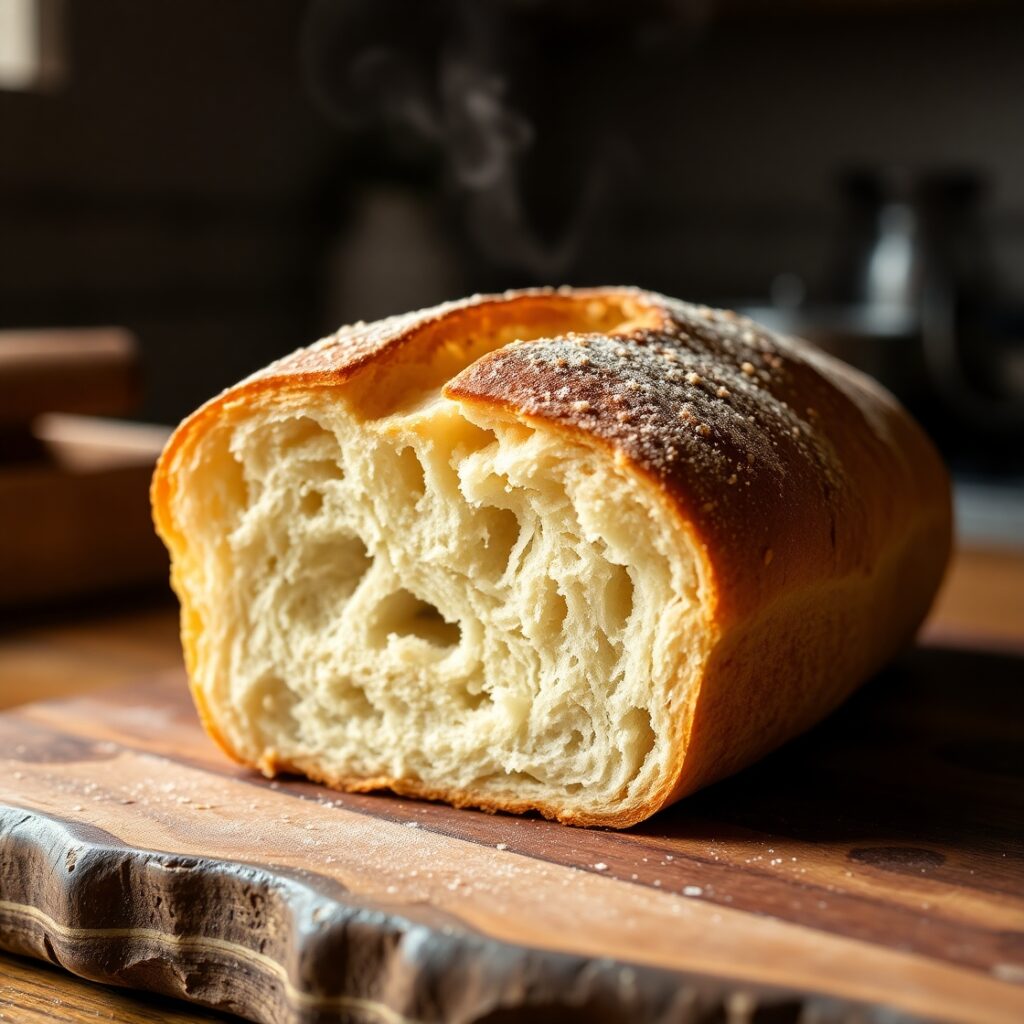
Serve on a Wooden Board:
A rustic wooden cutting board adds a visual warmth that pairs beautifully with the golden crust of French bread. Drape a linen towel underneath to catch crumbs and add texture.
Garnish with Simplicity:
Serve with a small dish of softened salted butter, or drizzle a bit of olive oil on the board and sprinkle with sea salt and cracked black pepper. If serving with soup or stew, prop slices casually against the bowl for an inviting look.
Tips and Tricks to Make This Recipe Better
Even great bread can become exceptional with a few insider techniques. These tips will elevate your French bread from good to unforgettable.
- Hydration is key:
A slightly wetter dough creates a more open crumb and chewier texture. Don’t be afraid of a tacky dough—just dust your hands and counter with flour as needed. - Steam for crust:
Steam during the first 10 minutes of baking helps form that signature crust. Pour hot water into a hot metal pan on the bottom rack right before closing the oven. - Slash with intention:
Don’t rush the scoring step. Use a razor-sharp blade and cut at a 30° angle, about ¼-inch deep. This controls the expansion and gives a professional look. - Let it cool completely:
As tempting as it is to slice while hot, resist! The crumb continues setting after baking. Cutting too soon makes the interior gummy. - Use a baking stone or inverted sheet pan:
If you have a baking stone or steel, preheat it and bake the loaves directly on it for superior oven spring and crust development.
Common Mistakes to Avoid
- Using water that’s too hot:
Water above 115°F can kill yeast, resulting in dense, flat dough. Aim for lukewarm—just slightly warm to the touch. - Not kneading enough:
Under-kneaded dough lacks structure and can collapse during baking. You’re aiming for smooth, elastic dough—usually around 8–10 minutes by hand. - Overproofing:
Letting dough rise too long causes it to collapse or bake flat. Dough should roughly double in size, no more. - Skipping the second rise:
Shaping and allowing a second rise ensures an airy interior and good oven spring. Don’t rush this step. - Cutting the bread too early:
Hot bread smells amazing, but slicing too soon releases moisture and ruins the crumb texture. Always wait 30 minutes to an hour.
How to Store It
Room Temperature:
Wrap the cooled loaf in a clean kitchen towel or parchment paper and store in a bread box or paper bag. It will keep for 2–3 days.
Avoid Plastic Bags:
Plastic traps moisture, which softens the crust. If you must use plastic, toast the bread before eating to revive the texture.
Freezing Instructions:
For longer storage, wrap the loaf tightly in foil and place it in a zip-top freezer bag. It will keep well for up to 3 months. To serve, thaw at room temperature and warm in a 350°F oven for 10–15 minutes to refresh the crust.
Sliced Freezing:
Slice the bread before freezing and store with parchment between slices. That way, you can toast just what you need—no waste.
FAQ
Q: Can I make this bread with whole wheat flour?
Yes, but it’s best to start with a 50/50 mix of whole wheat and white flour. Whole wheat absorbs more water and creates a denser crumb.
Q: Why didn’t my dough rise?
Check that your yeast is active and your water temperature is warm, not hot. Also, make sure the dough is rising in a warm, draft-free place.
Q: Can I make the dough ahead of time?
Yes! After the first rise, you can refrigerate the dough overnight. Let it come to room temperature before shaping and doing the second rise.
Q: How do I get a shinier crust?
Mist the loaves with water before baking or brush them with an egg wash. The water method keeps it traditional and rustic; egg wash adds sheen and deeper color.
Q: Do I need a special pan to bake French bread?
No special pan needed. A regular baking sheet works fine. However, a baking stone or steel improves oven spring and crust.

French Bread Recipe
- Total Time: 4 hours
- Yield: 2 loaves
- Diet: Vegetarian
Description
Crusty, golden, and irresistibly chewy, this French bread recipe delivers artisan-quality results using five simple ingredients. It’s the perfect loaf for dipping, toasting, or savoring with just butter. With a crispy exterior and tender crumb, this bread is ideal for beginner bakers looking to master a rustic classic. No stand mixer, no complicated techniques—just traditional bread-baking made approachable and rewarding. Whether you pair it with hearty stews or a drizzle of herbed olive oil, this French bread will become your go-to homemade loaf.
Ingredients
- 3 cups all-purpose or bread flour
- 1 cup warm water (105–110°F)
- 2 ¼ teaspoons (1 packet) active dry yeast
- 1 teaspoon sugar
- 1 ½ teaspoons salt
Instructions
- In a large bowl, dissolve yeast and sugar in warm water. Let sit for 5–10 minutes until foamy.
- Add flour and salt. Mix until a shaggy dough forms.
- Turn out and knead for 8–10 minutes until smooth and elastic.
- Place in a greased bowl, cover, and let rise until doubled (1.5 to 2 hours).
- Punch down, divide dough, and shape into two loaves. Place on a baking sheet.
- Cover and let rise again for 45–60 minutes.
- Preheat oven to 425°F. Score loaves and pour 1 cup of hot water into a preheated pan in the oven.
- Bake for 25–30 minutes until golden brown and hollow-sounding.
- Cool on a wire rack for at least 30 minutes before slicing.
Notes
Use bread flour for extra chewiness.
For a crustier finish, mist with water before baking or add a pan of water to the oven.
Add garlic or herbs for flavor variations.
- Prep Time: 20 minutes
- Cook Time: 30 minutes
- Category: breads
- Method: Baking
- Cuisine: french
Nutrition
- Serving Size: 1 slice (from 2 loaves, approx. 16 slices)
- Calories: 120